
Table of Contents
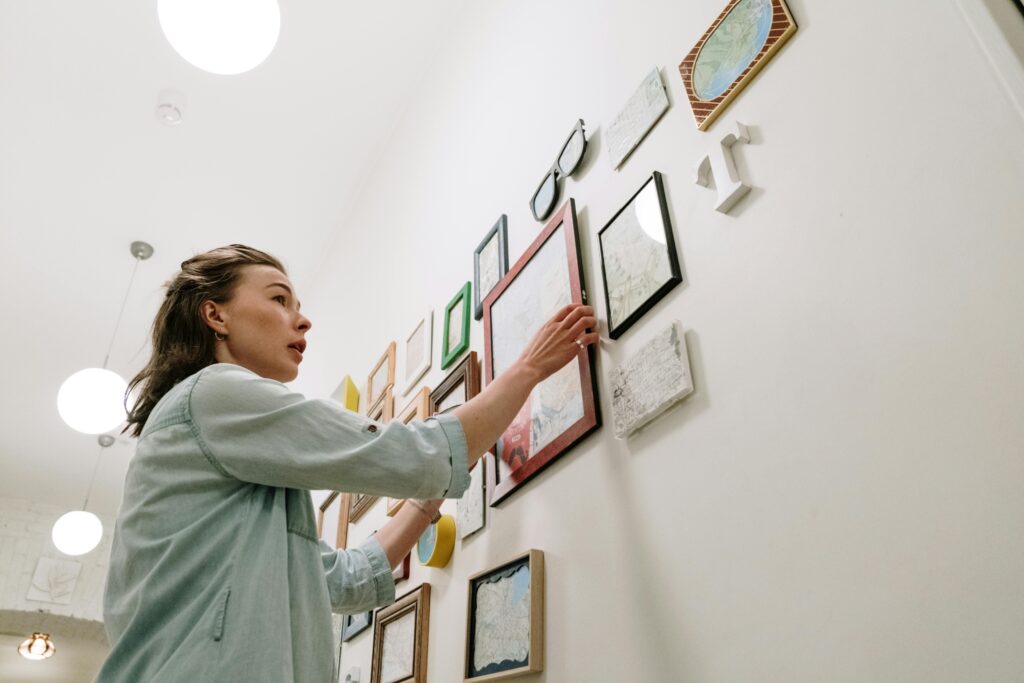
Ever stared at a wall full of misaligned art and wondered where it all went wrong? Getting your artwork placement right isn’t rocket science, but it sure feels that way sometimes.
The good news is that you can skip the guesswork and endless hole-patching with these hanging techniques that work every single time.
1. The Template Hack
Want to know what the pros do? They never put a single hole in the wall until they’re 100% sure about placement.
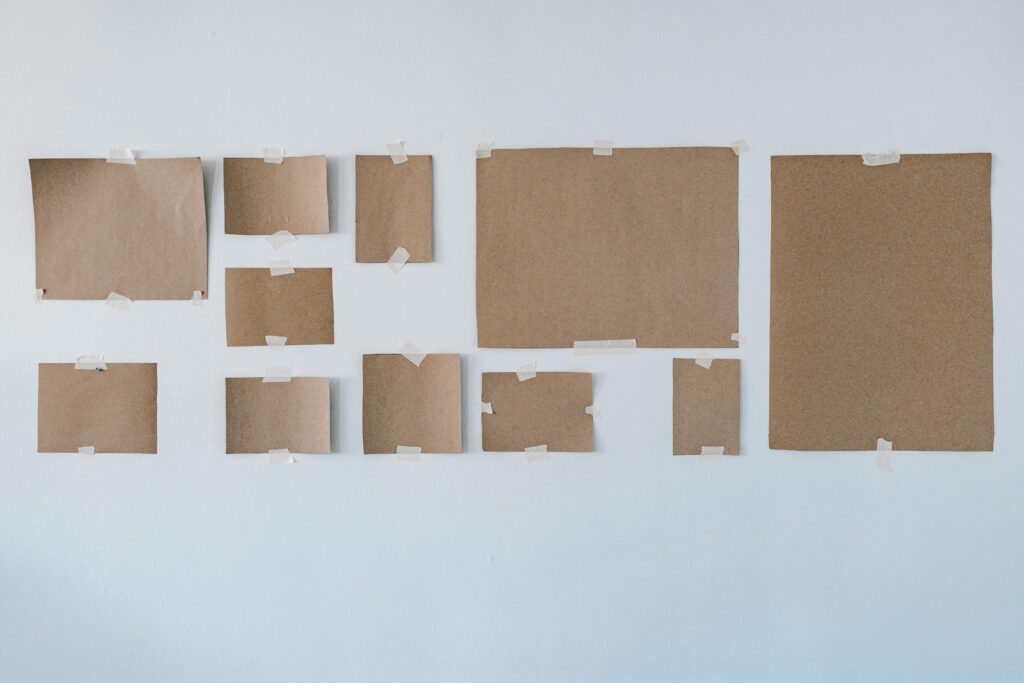
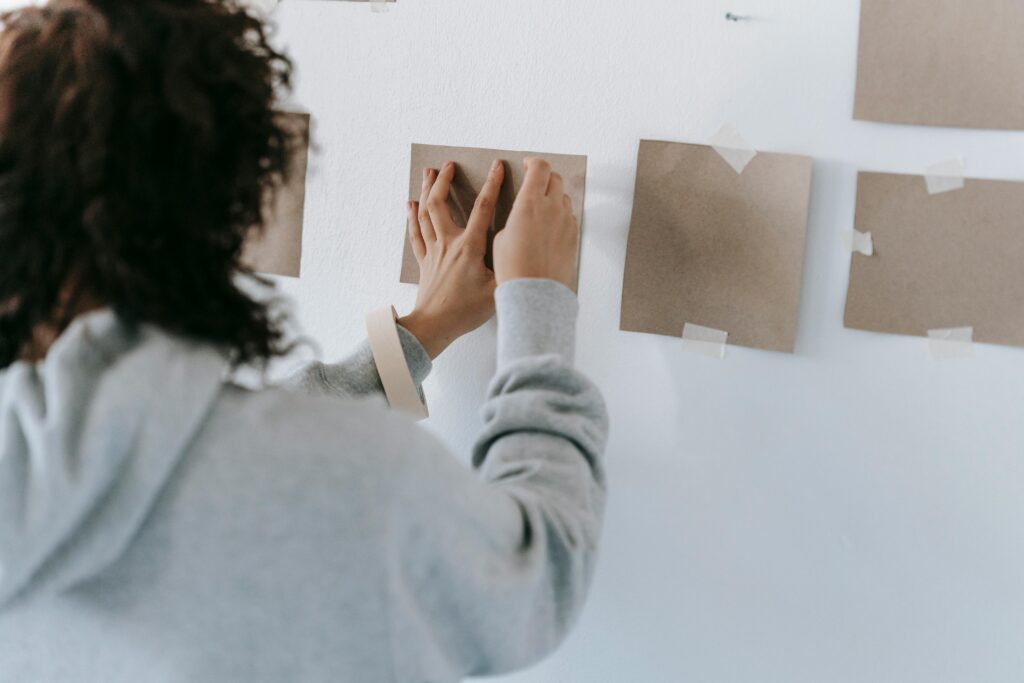
Grab some kraft paper or newspaper and trace around your frame. Cut it out and write “TOP” in big letters.
Also, mark where the hanging hardware sits. Now you can move this template around your wall with painter’s tape until you find the perfect spot.
The real magic happens when you’re hanging multiple pieces. You can arrange all your paper templates on the wall and step back to see exactly how everything looks together.
No more second-guessing or measuring twice just to get it wrong anyway. Plus, you can leave the templates up for a day or two to ensure you love the arrangement before committing.
2. The Perfect Height Formula
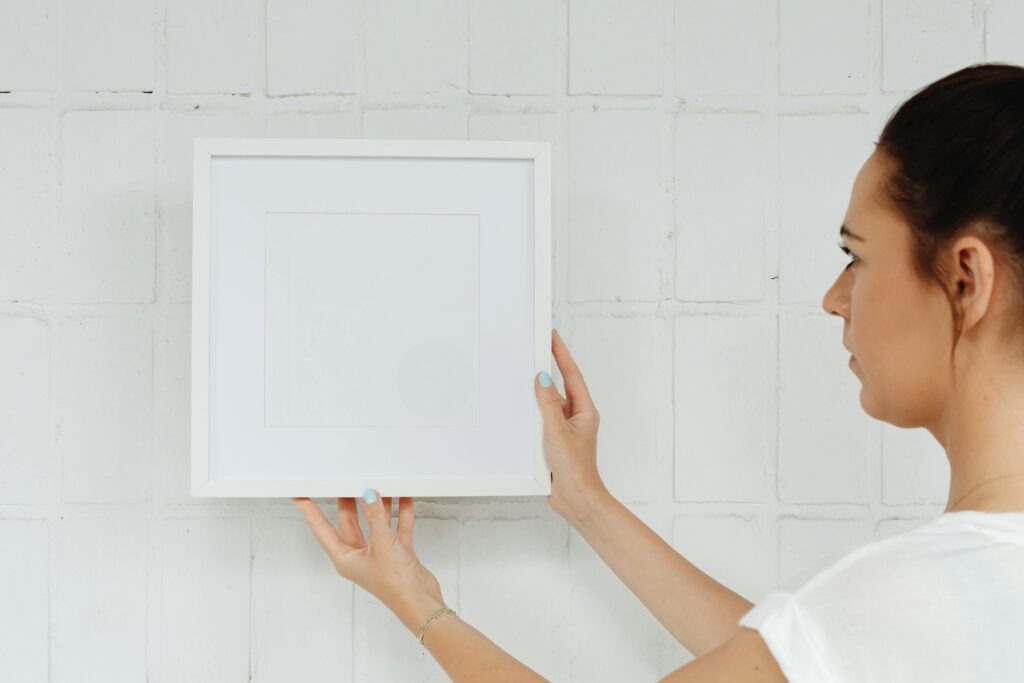
Here’s a secret that gallery owners know: art should hang at eye level. But what does that actually mean?
The sweet spot is to position the center of your piece 57 to 60 inches from the floor. This height works for most rooms and creates a natural viewing angle that feels right.
There’s a simple way to nail this every time. Measure the height of your frame and divide by two to find the center. From the wire or hook on the back, measure up to the top of the frame.
Subtract this number from 57 inches, and that’s where your nail should go. Sounds like a lot of math, but it’s actually super quick and works perfectly every time.
3. The Laser Level Hack
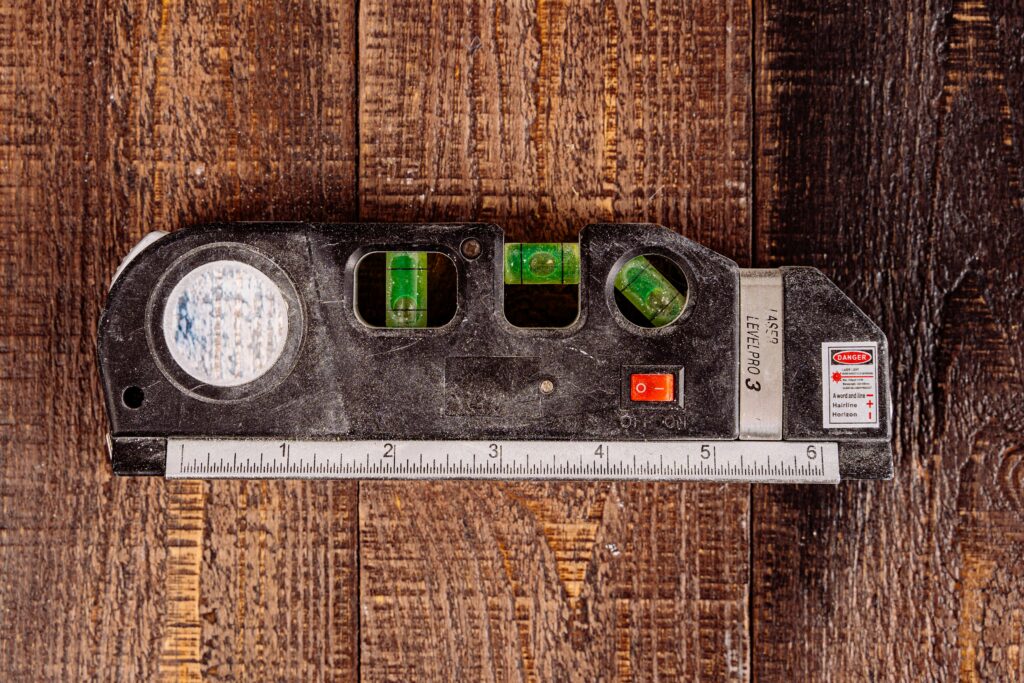
If you’re serious about hanging art like a pro, a laser level is worth its weight in gold. But here’s the thing: you don’t need some fancy expensive model.
A basic laser level from any hardware store will do the job beautifully. Just stick it on the wall, and you’ll get a perfectly straight line across the room.
The real game-changer is using it for gallery walls. Turn on that laser line, and you’ll never hang a crooked frame again. It takes all the stress out of hanging multiple pieces because you can see exactly where everything should line up.
Plus, most laser levels come with sticky backs or magnetic strips, so you don’t need an extra set of hands.
4. The Command Strip Hack
Nails aren’t always the answer, especially if you rent or have plaster walls that love to crumble.
Command strips have come a long way, and they’re not just for college dorm rooms anymore. The key is using the right size for your frame’s weight and cleaning the wall properly first.
Here’s what makes them so great: you can adjust your piece after hanging it. If it’s slightly off, just carefully peel one side and reposition. No more crooked frames or wall damage. Plus, they work on practically any wall surface.
Just remember to check the weight limit and use extra strips for heavier pieces. Always clean both the wall and the frame with rubbing alcohol first so they stick properly.
5. The No-Fail Grouping Guide
Creating a gallery wall doesn’t have to feel like solving a puzzle. Start with your largest piece as an anchor and work outward.
The secret is to keep consistent spacing between frames. Three inches is usually perfect – it’s enough breathing room without making pieces feel disconnected.
Another pro tip: arrange your gallery wall according to visual weight, not just size. A small piece with bold colors can balance out a larger piece with lots of white space.
And don’t feel pressured to fill every inch of wall space. Leaving some empty areas makes your arrangement look more intentional and pulled together.
Simple Tools for the Job
A hammer, measuring tape, and pencil are all you really need to hang most artwork. You can also add a stud finder to your kit. They’re inexpensive and help you avoid wall damage.
While a basic level works great, your phone’s level app can work just as well. Just gather everything before you start. Your must-have list:
- Hammer
- Measuring tape
- Pencil
- Stud finder
- Level (or phone app)
- Screwdriver
- Wall anchors
- Picture hanging wire
Keep these basic tools in a small box or drawer so they’re ready whenever inspiration hits. With this simple kit, you’ll be ready to tackle any art-hanging project that comes your way.
Smart Spacing for Every Space
Different areas in your home need their own approach, and these guidelines will help you nail it every time.
1. Above Furniture
The sweet spot above sofas and tables is 6-8 inches. Any higher and your art loses its connection with the furniture. Your piece should also be about two-thirds the width of the furniture it’s hanging above.
So if your sofa is 72 inches wide, aim for art that’s around 48 inches across, whether that’s one piece or a few grouped together.
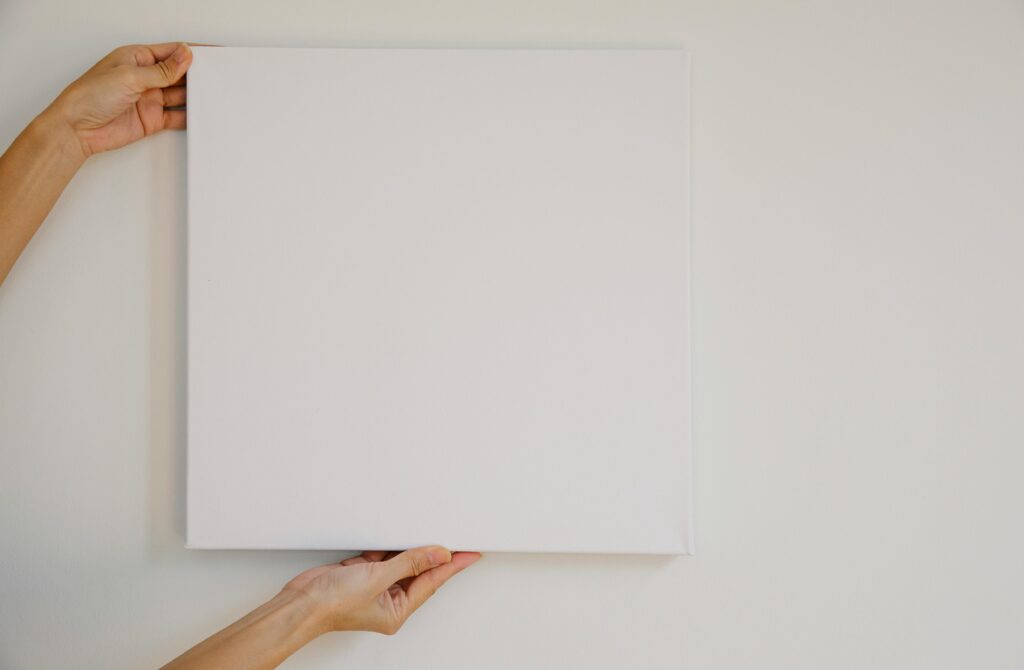
2. Empty Wall Spaces
When you’re working with a blank wall, stick to the eye-level rule but consider the room’s purpose.
In living spaces where people are usually sitting, you can hang slightly lower. For hallways or spaces where people stand more, go a bit higher. Just keep everything at a comfortable viewing height.
3. Around Doorways and Windows
These tricky spots need extra attention. Keep art at least 3 inches away from door frames and window trim.
This breathing room prevents your space from feeling cramped. For windows, consider hanging pieces that won’t block natural light when curtains are open.
4. Gallery Wall Layouts
Gallery walls work best with consistent spacing between pieces. Stick to 2-3 inches for small frames and 3-4 inches for larger ones. Start in the middle and work your way out.
Remember to keep the whole arrangement centered at eye level, not just individual pieces.
Making Your Art Shine
These hanging hacks aren’t just about getting things straight and level. They’re about displaying your art in a way that makes it look its absolute best.
Take your time with the planning stage, and the actual hanging will be surprisingly easy.
Remember: the best-looking walls aren’t the ones that went up the fastest, but the ones that were hung with care and attention to detail.

Hi, I’m Christian, a 43-year-old father of two and a lifelong DIY enthusiast. My workshop is where I spend countless hours experimenting, upgrading, and fine-tuning. Sharing my experiences and practical advice is my way of helping others create homes they love.