Table of Contents
Ever walked into someone’s house and wondered how they made it look so expensive?
The secret isn’t always in big renovations or fancy furniture. Sometimes, the smallest changes make the biggest difference.
Don’t worry, you won’t need to break the bank or spend weeks to achieve luxury. Try these 7 tiny tweaks that will make your home feel like a million bucks.
1. Switch Out Your Hardware
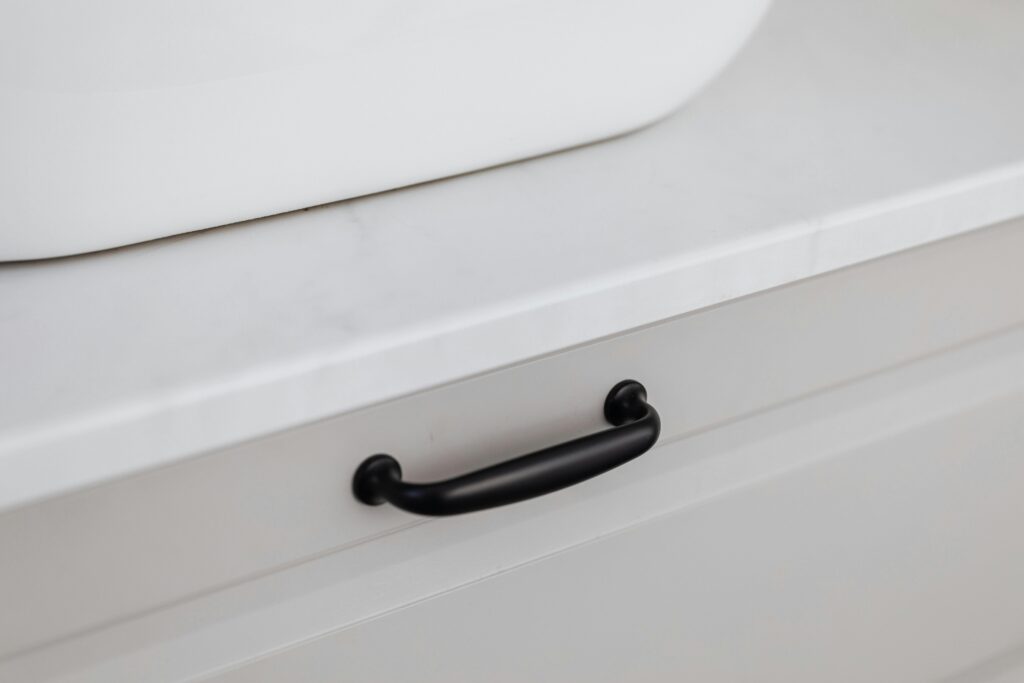
Your cabinet handles and doorknobs are like jewelry for your home. Swapping out old, basic hardware for something more current can transform your entire space.
Go for brushed brass or matte black finishes, they’re super popular right now and look amazing in any room. The key is to keep all the finishes consistent throughout your space.
When picking new hardware, make sure to measure the existing holes in your cabinets first. This way, you won’t need to patch and drill new ones.
2. Paint Your Interior Doors
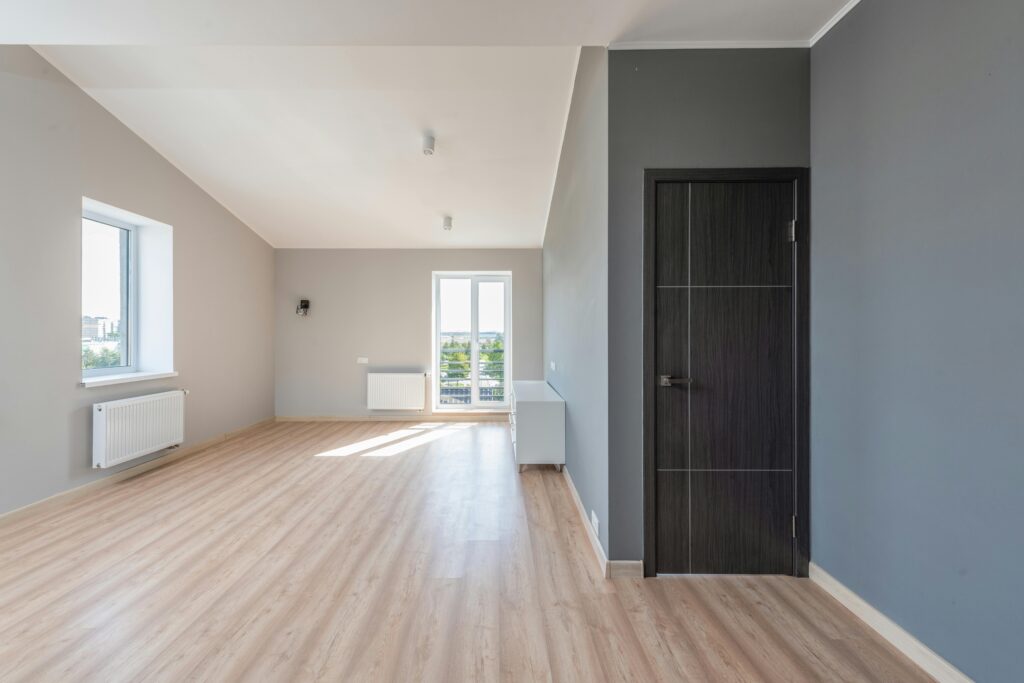
Most people never think about their interior doors, but painting them can make a huge impact. A fresh coat of paint in a bold color or even just a crisp white can make your home feel more custom and put-together.
Take your time with this project and remove the door from its hinges first. Clean it well, sand any rough spots, and use a foam roller for the smoothest finish.
Your doors will look brand new, and guests will notice the difference right away.
3. Upgrade Your Light Fixtures
Lighting can make or break a room’s atmosphere. Those builder-grade flush mounts from the 90s? They’re not doing your home any favors. Replace them with modern fixtures that match your style.
You don’t need to spend hundreds per fixture. Many home improvement stores have great options under $100 that look way more expensive than they are.
Just remember to turn off the power at the breaker before starting any electrical work. If you’re not comfortable with wiring, hire an electrician. The change will be worth every penny.
4. Add Crown Molding
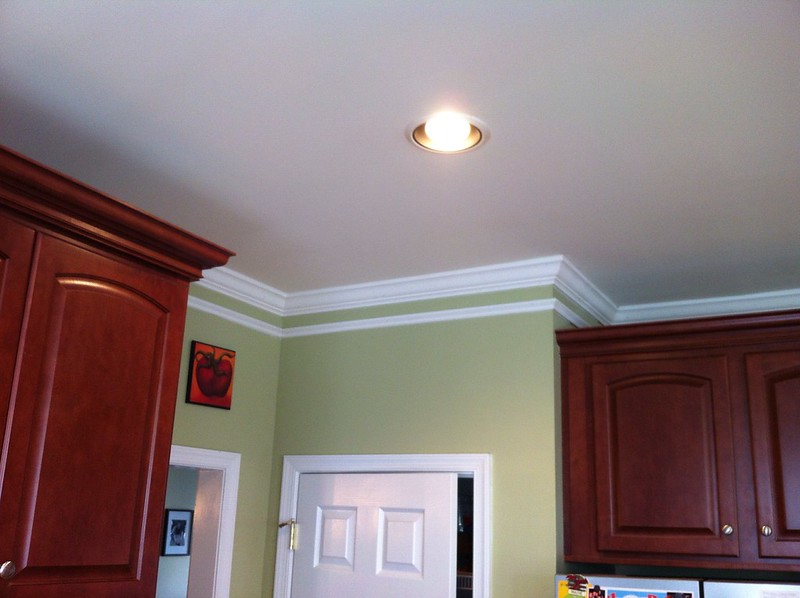
Nothing says luxury quite like crown molding. It’s one of those details people notice without realizing why a room looks so good.
You can find affordable options at your local home improvement store, and with some basic tools and patience, you can install it yourself. Start in a small room to practice your technique.
The corners are the trickiest part, so take your time measuring and cutting the angles. Once you get the hang of it, you’ll be amazed at how this simple addition elevates your space.
5. Create a Statement Wall
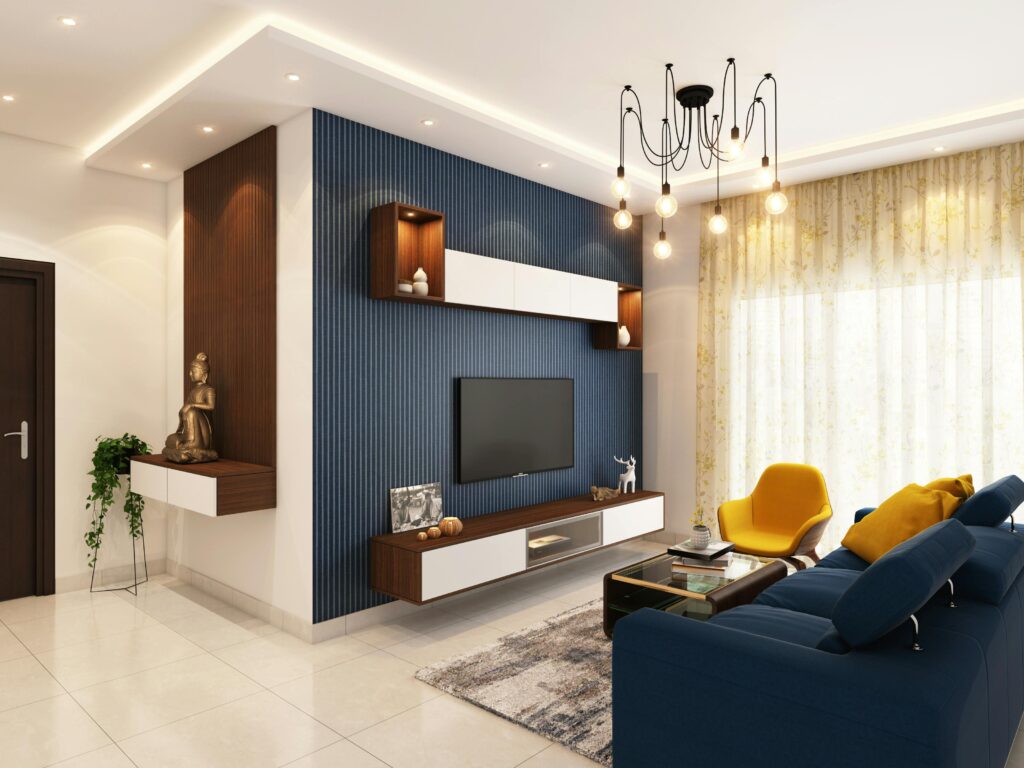
Paint is cheap, but its impact can be huge. Choose one wall in your main living space and give it special treatment.
A rich, dark color or even just a different shade of your existing wall color can create depth and interest. The key is to pick a wall that naturally draws the eye when you enter the room.
Take time to prep the surface properly. Clean the wall, patch any holes, and use painter’s tape for clean edges. Two coats of paint usually do the trick, and the result will look like it was done by a pro.
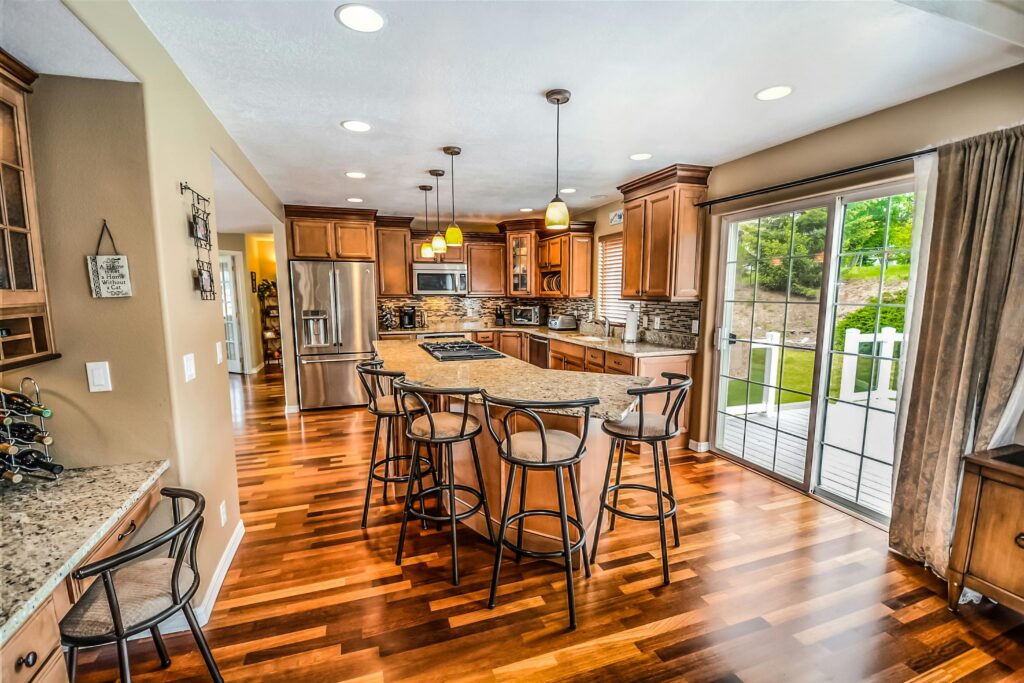
6. Upgrade Your Window Treatments
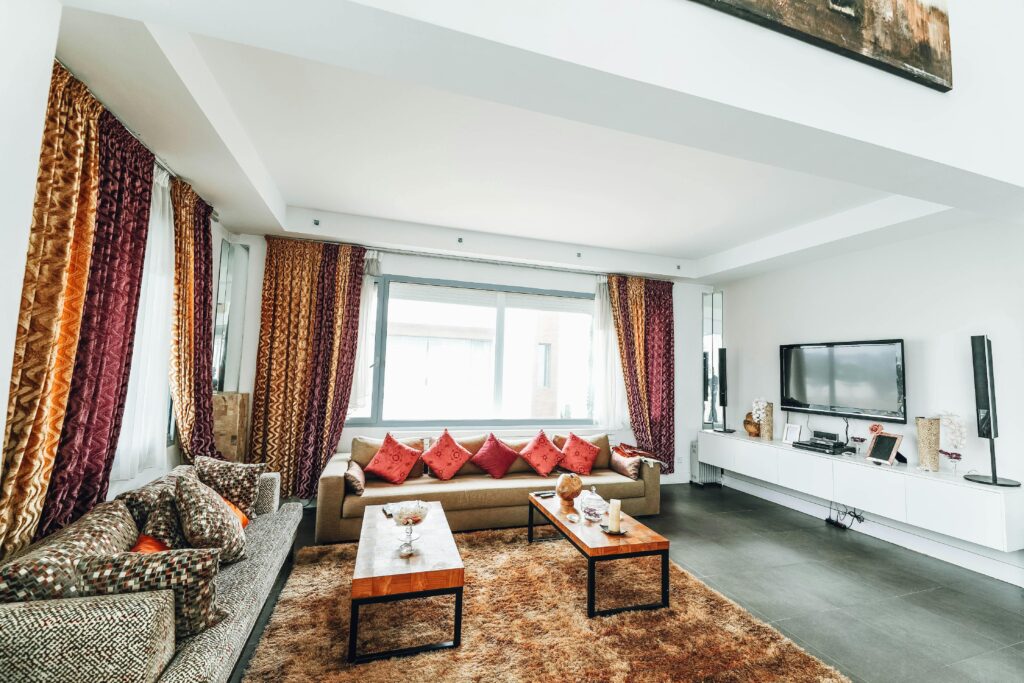
Those cheap mini blinds that came with your house? They’re bringing down your home’s whole look.
Replace them with simple panel curtains hung close to the ceiling, not just above the window frame. This trick makes your windows look bigger and your ceilings higher.
When buying curtains, make sure they’re long enough to just touch the floor. Curtains that are too short are a dead giveaway of a budget setup.
Also, iron or steam your curtains before hanging them up. It’s a small step that makes a big difference in how polished they look.
7. Style Your Shelves Like a Pro
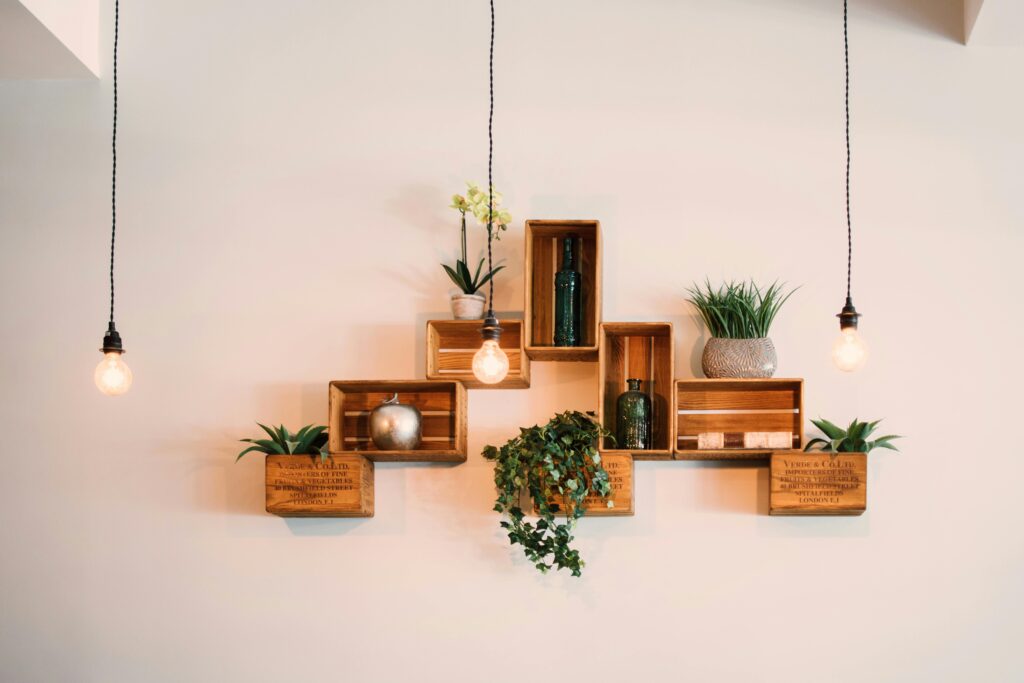
Empty shelves or cluttered ones can make your home feel unfinished. The secret to pro-looking shelves is in the arrangement.
Start with bigger items as anchors, then fill in with smaller pieces. Use books, vases, and decorative objects in groups of three. Mix up the heights and textures, but stick to a consistent color scheme.
Don’t feel pressured to fill every inch of space. Empty spots give the eye a place to rest and make your display look more intentional.
Quick Pro Tips for Home Tweaks
Here are some expert tips that can take your home upgrades from good to great:
1. Prep Work Pays Off
Always clean and prep surfaces before starting any project. This extra step makes the result look much more professional, and you’ll avoid having to redo your work later.
Start by wiping down surfaces with a degreaser and filling any holes or cracks. Once everything is clean and smooth, you’ll have the perfect canvas for your update.
2. Stick to a Color Story
Keep your color scheme consistent throughout your home. When every room flows into the next with complementary colors and tones, your entire space feels more cohesive and expensive.
Pick three to four main colors and use them in different ways across your rooms. This creates a pulled-together look that most people pay designers to achieve.
3. Buy More Than You Need
When buying materials, get a little extra. Having spare paint, hardware, or trim on hand saves time and stress when you need to repair or touch things up later.
A good rule of thumb is to buy 10% more than you think you’ll need. This backup supply comes in handy for future touch-ups, especially since paint colors and hardware styles can be discontinued.
4. Document Your Progress
Take photos of your space before and after each project. Not only will you have a clear record of how far your home has come, but seeing the changes will motivate you to tackle your next upgrade.
Keep these photos in a dedicated album on your phone and look at them whenever you need inspiration. You’ll be amazed at how small changes can transform a space when you see them side by side.
Making Your Million-Dollar Home
These small changes add up to have a big impact on your home. The key is to tackle one project at a time and do it well. Focus on the details and take your time.
Remember that even the smallest updates can transform how your space feels. Your home will look more expensive, and you’ll enjoy spending time there even more.

Hi, I’m Christian, a 43-year-old father of two and a lifelong DIY enthusiast. My workshop is where I spend countless hours experimenting, upgrading, and fine-tuning. Sharing my experiences and practical advice is my way of helping others create homes they love.