
Table of Contents
Want to refresh your home without breaking the bank? You don’t need deep pockets or professional help to make meaningful changes. Here are 7 smart upgrades you can tackle this weekend with just $50 or less.
1. Paint Your Cabinet Hardware
Are those dated brass handles and knobs dragging down your kitchen’s look? For about $15, you can transform them with specialty metal spray paint.
Remove all hardware first, clean thoroughly with soap and water, then spray in thin coats. A matte black or brushed nickel finish instantly modernizes cabinets and drawers.
Pro tip: Label each piece’s location as you remove it to make reinstallation easier.
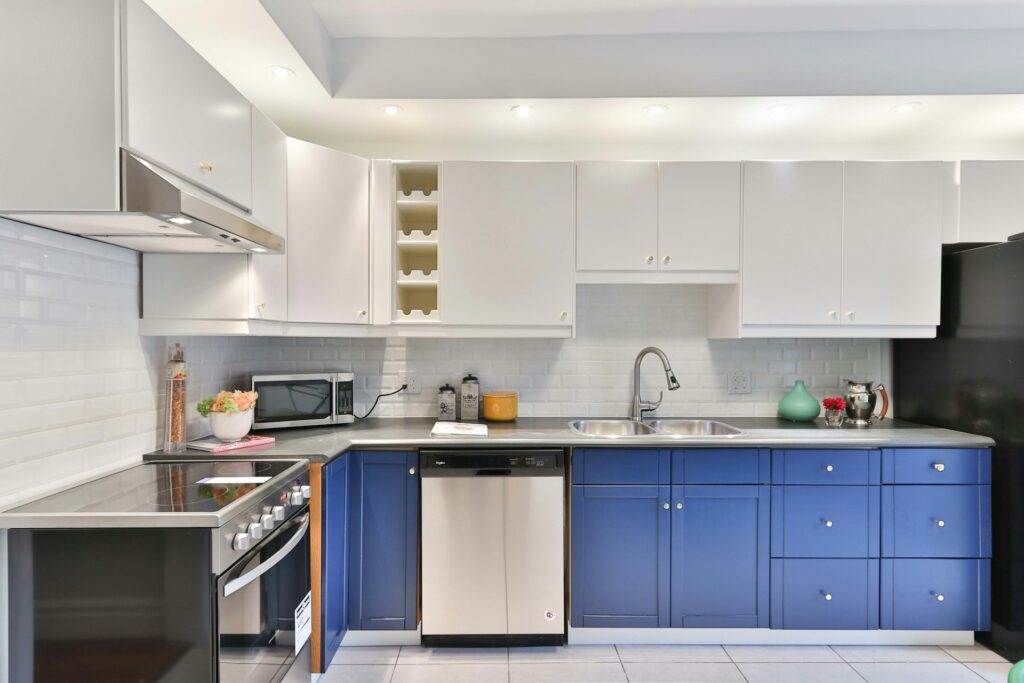
2. Create a Peel-and-Stick Backsplash
Skip the costly tile work. Modern peel-and-stick tiles look surprisingly real and cost around $30 for enough to cover a standard kitchen backsplash. They’re heat-resistant, water-resistant, and simple to install.
Clean the wall surface thoroughly, measure your space, and cut tiles to fit using sharp scissors. The best part? If you make a mistake, just peel it off and try again.
3. Install Under-Cabinet Lighting
Battery-powered LED strip lights cost about $20 and add both function and ambiance to your kitchen. They stick right under your cabinets with included adhesive and turn on with a tap.
Some even come with remote controls or motion sensors. The warm white light makes food prep easier and creates perfect mood lighting for evening hours.
4. Update Your Switch Plates
Basic white switch plates scream builder-grade boring. For around $25, buy decorative plates for high-traffic areas like your entryway or living room.
Choose brushed metal finishes or textured designs that complement your decor. Just turn off the power, unscrew the old plates, and attach the new ones. Keep the old plates stored away if you rent.
5. Add Crown Molding With Foam
Real wood crown molding costs a fortune, but foam versions look nearly identical once painted. For about $40, you can do an average-sized room.
The lightweight material cuts easily with scissors and attaches with construction adhesive. No power tools needed. Paint it the same color as your ceiling for a seamless look that adds instant sophistication.
6. Create an Accent Wall With Paint

One gallon of good quality paint runs about $35 and covers an entire accent wall.
Pick a wall that naturally draws attention, like behind your bed or sofa. Dark colors make spaces feel cozy, while lighter shades open up small rooms.
Get paint samples first and view them in different lighting before committing. Remember to buy painter’s tape and use old sheets as drop cloths.
7. Build Floating Shelves From Basic Materials
Basic lumber and brackets from the hardware store cost around $45 in total. Get a 6-foot pine board cut to size at the store (usually free), sand the edges smooth, and stain or paint it.
Install brackets into wall studs for maximum strength. These shelves work great in bathrooms, kitchens, or any blank wall needing visual interest.
Tips for Success

Before jumping into any DIY project, keep these crucial tips in mind to get professional results every time.
Tip 1: Proper Surface Prep
Always clean surfaces thoroughly before starting. Use appropriate cleaners for each material and allow proper drying time.
What seems like overkill in preparation often makes the difference between a project that lasts and one that needs redoing in a month.
Tip 2: Read Instructions First
Read product instructions completely before opening anything. Even experienced DIYers can miss important details about drying times, application methods, or required conditions.
Write down any specific measurements or mixing ratios mentioned.
Tip 3: Test Before Committing
Buy sample sizes whenever possible to test colors and materials. What looks perfect in the store may appear completely different in your home’s lighting. Testing saves both time and money by preventing full-scale mistakes.
Tip 4: Use Store Services
Most home improvement stores offer free or low-cost cutting services. Take advantage of these for straight, professional cuts without investing in expensive tools.
Just remember to measure twice before asking for cuts, as they can’t undo mistakes.
Tip 5: Work With Good Lighting
Natural daylight is best for most projects, especially painting and color matching. If you must work with artificial light, use bright, white lights that show true colors. Poor lighting leads to mistakes and uneven results that show up later.
Tip 6: Keep Your Space Clean
Work in a clean, organized area and clean as you go. Having tools and materials within reach saves time, and regular cleanup prevents accidents or damage to your work. Keep a trash bag nearby and wipe up spills immediately.
Common Mistakes to Avoid
Many DIYers rush into projects without considering potential issues. Wait until surfaces are completely dry before adding another coat or layer. Don’t skip the primer when it’s recommended.
Most importantly, never guess measurements or try to eyeball straight lines. These simple oversights often lead to disappointing results that cost more to fix.
Money-Saving Strategies

Getting creative with your shopping and resource management can stretch your $50 budget even further.
1. Check Clearance Sections
Visit home improvement stores’ clearance areas regularly. You’ll often find premium items marked down just because of damaged packaging or discontinued colors. These sections often save about 50-70% off regular prices.
2. Hunt for Multi-Project Materials
Think about how materials can serve multiple purposes. That gallon of paint for your accent wall could also transform your floating shelves, picture frames, or even old furniture pieces. Plan projects that can share supplies to maximize your budget.
3. Share Costs with Friends
Team up with friends working on similar home upgrades. Split the cost of bulk materials, share tools, or buy larger quantities at better prices. One person’s leftover materials often become perfect for someone else’s project.
4. Time Your Purchases
Shop during major holiday sales when home improvement stores offer significant discounts. End-of-season clearances are opportunities to stock up on materials for future projects at a fraction of the regular cost.
5. Join Store Programs
Sign up for free store loyalty programs and email lists. Many home improvement retailers send members exclusive coupons and early notice of sales. Some even offer rebates or points on purchases that add up to future savings.
Make It Work for Your Space
Simple upgrades mean less risk if you change your mind later. Each of these projects can be completed in a weekend or less, and none require special skills or expensive tools. Keep your receipt and buy a little extra material just in case. Soon you’ll have a refreshed space that looks like you spent way more than $50.

Hi, I’m Christian, a 43-year-old father of two and a lifelong DIY enthusiast. My workshop is where I spend countless hours experimenting, upgrading, and fine-tuning. Sharing my experiences and practical advice is my way of helping others create homes they love.