
Table of Contents
Looking at your tired kitchen cabinets but can’t afford a full renovation? This simple $20 upgrade completely transforms your space without breaking the bank.
You don’t need to spend thousands on new cabinets when a weekend project with the right materials can breathe new life into your kitchen.
Here’s everything you need to know about the $20 fix that makes your kitchen look brand new.
Why You Need Cabinet Hardware
Ever notice how a new pair of shoes can make an old outfit look fresh? The same goes for your kitchen.
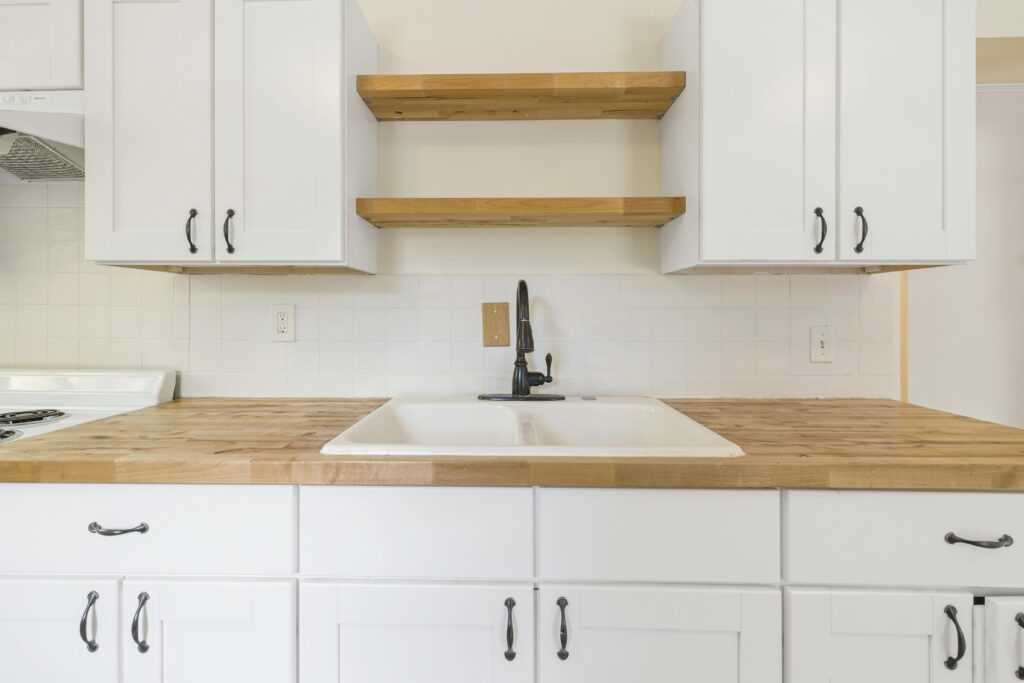
Cabinet hardware is like jewelry for your kitchen. It’s small but mighty in impact. Cabinet pulls and knobs draw the eye immediately when someone walks into your kitchen.
They’re the finishing touch that can make even older cabinets look purposeful and stylish. When your hardware gets outdated or worn, it ages everything around it too.
Most kitchens have anywhere from 20-40 handles and knobs. Replacing these small items creates a cohesive look that ties the whole room together without any major construction work.
Your $20 Shopping List

This project costs about $20-30 total, depending on the style you choose and how many pieces you need. Here’s your shopping list:
- New cabinet pulls or knobs (look for multi-packs to save money)
- Screwdriver (usually Phillips head)
- Measuring tape
- Small level (optional but helpful)
The secret to keeping this affordable is buying hardware in bulk packs rather than individual pieces. Many home improvement stores offer 10-packs of basic handles for around $15-20, which covers many smaller kitchens.
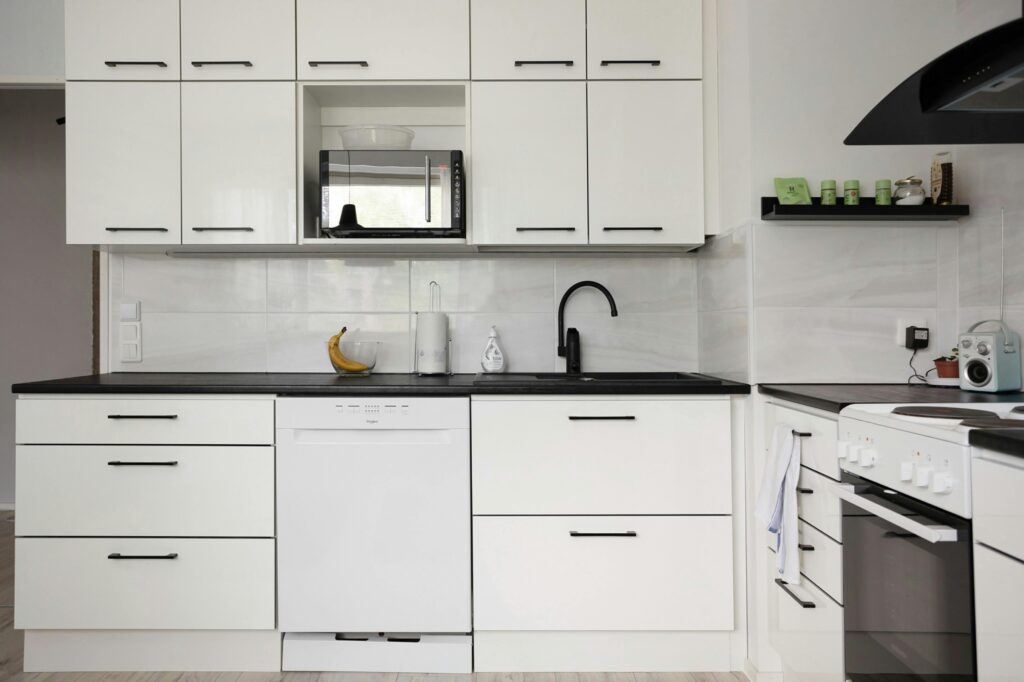
Hardware finishes that look most current include matte black, brushed brass, or satin nickel. These options work with almost any cabinet color and won’t show fingerprints as badly as polished finishes.
How to Choose the Right Style
Getting this wrong can waste money and leave your kitchen looking awkward. Follow these simple guidelines to nail the style choice:
Tip 1: Take a photo of your kitchen and look at the overall style. Is it modern? Traditional? Farmhouse? This will narrow down your hardware options significantly.
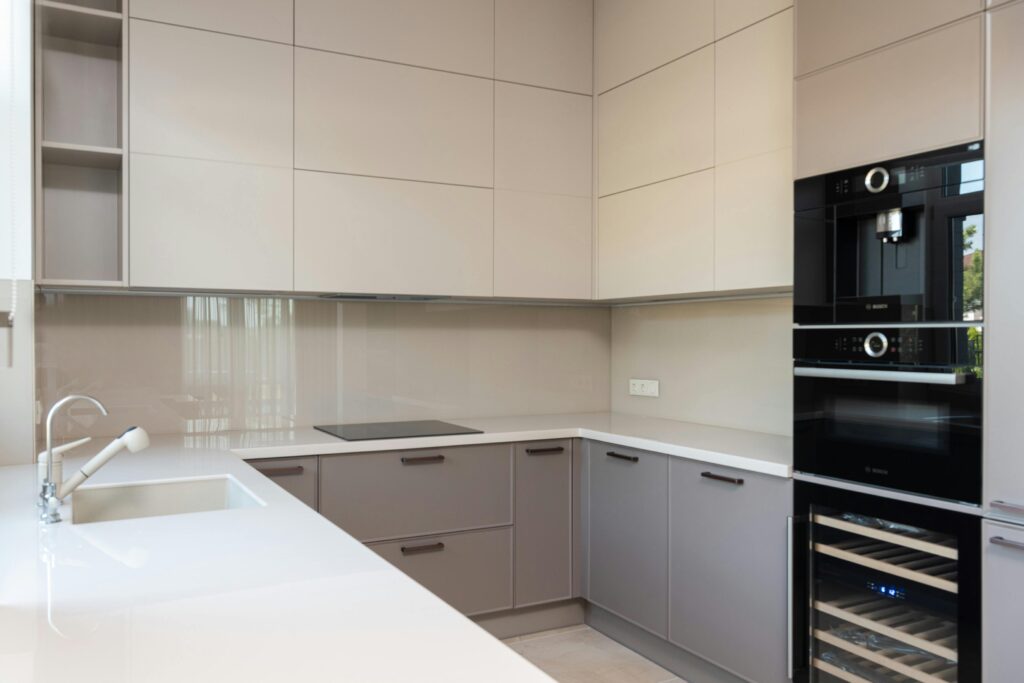
Tip 2: Modern kitchens work well with sleek handles in straight lines or simple knobs with clean edges.
Traditional kitchens look great with more detailed knobs or cup pulls that have some visual interest. Farmhouse styles pair perfectly with bin pulls or black iron hardware.
Tip 3: Consider what other metal finishes you have in your kitchen. Your new hardware should complement (not necessarily match exactly) your faucet, light fixtures, and appliances.
If your cabinets are busy with lots of detail or grain, choose simpler hardware. For plain cabinets, you can get away with more decorative pieces.
Most important tip: Buy just one or two pieces first to test them out before committing to replacing everything. This small step saves both time and money if the style isn’t quite right.
Budget-Friendly Shopping Guide

Home improvement stores often have basic options in multi-packs, which brings the per-piece cost way down. Check the clearance sections too. Cabinet hardware frequently goes on sale when styles are being discontinued.
Online retailers like Amazon and Wayfair offer incredible variety at competitive prices, especially if you need larger quantities.
Habitat for Humanity ReStores and other home recycling centers sometimes have brand-new hardware donated from construction projects at steep discounts.
Dollar stores occasionally carry cabinet knobs that look surprisingly high-end despite the low price point.
If you need many pieces, buying in bulk from a restaurant supply store can save money, as they sell hardware intended for commercial kitchens at wholesale prices.
The 30-Minute DIY Installation Process
You don’t need to be handy to manage this project. Here’s the step-by-step process:
Step 1: Remove one of your existing pulls and measure the distance between screw holes (if using handles) or note if you’re using single knobs.
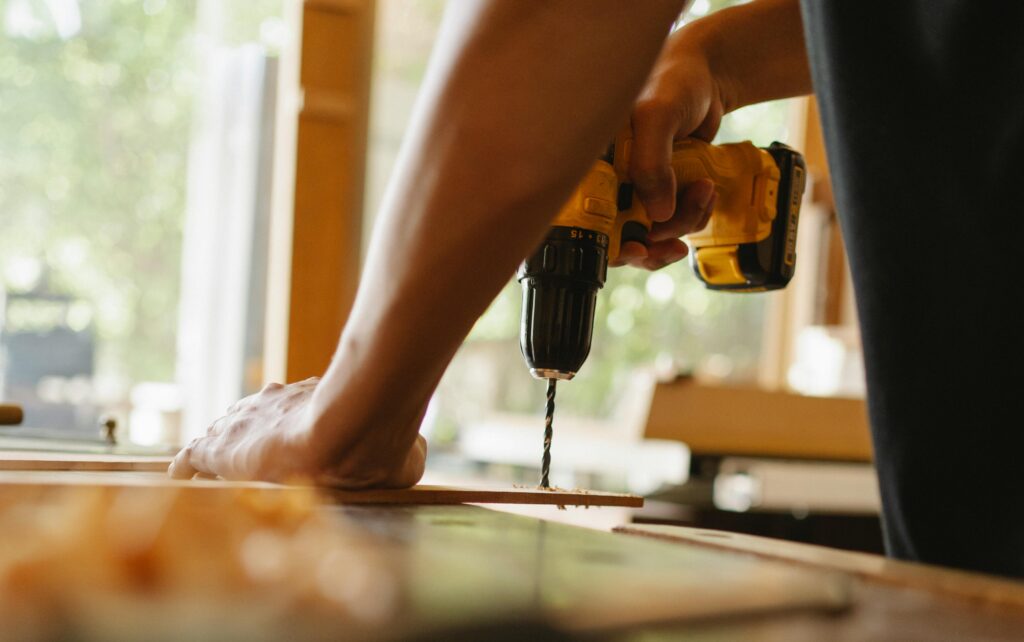
Step 2: Make sure your new hardware matches these measurements or you’ll need to drill new holes.
Step 3: Start with a less visible cabinet to practice on.
Step 4: Remove the old hardware by unscrewing from inside the cabinet.
Step 5: Insert the screws for the new hardware from inside the cabinet and thread them through the existing holes.
Step 6: Align the new handle or knob and tighten the screws until secure but not over-tight.
Step 7: Repeat for all remaining cabinets and drawers.
The most common mistake is not keeping the hardware straight when installing. Taking a few extra seconds to visually align each piece prevents this problem.
For kitchens with lots of cabinets, break this project into sections to make it more manageable. Do lower cabinets one day and upper cabinets another if needed.
Pro Tips for Perfect Results
These insider tricks help your budget project look high-end:
Tip 1: Choose one style throughout. Using the same hardware everywhere creates a custom, planned look rather than a piecemeal update.
Tip 2: Place handles horizontally on drawers and vertically on doors. This traditional approach looks intentional and makes ergonomic sense for how people open each type.
Tip 3: Consider your cabinet color. Dark hardware creates a striking contrast on white or light cabinets. For darker cabinets, lighter finishes like nickel or brass can stand out beautifully.
Tip 3: Clean cabinets thoroughly before installing. This simple step removes years of kitchen grease and grime that you might not even notice until you remove the old hardware.
Tip 4: Slightly oversized hardware makes more impact. Going just a bit larger than your previous hardware can make cabinets look more current and custom.
Finishing Touches
Once your new hardware is installed, these additional budget-friendly steps enhance the transformation:
1. Clean thoroughly around where the old hardware was. These spots often have built-up grime that becomes obvious with new hardware.
2. Touch up any scuffs or chips in the cabinet paint using a matching paint sample.
3. Add peel-and-stick under-cabinet lighting for about $15 to highlight your newly refreshed cabinets.
4. Replace your kitchen switchplates with new ones that match your hardware finish (usually $2-3 each).
5. Add shelf liner to cabinet interiors for a fresh feel every time you open a door or drawer.
Weekend Project, Lasting Results
The kitchen is the heart of your home, and you deserve to enjoy spending time there. The beauty of this $20 fix is that almost anyone can afford it and complete it in one afternoon.
No special skills, expensive tools, or contractor delays, just a quick trip to the store and a little bit of your time. Your “new” kitchen is waiting just behind those outdated pulls and knobs.

Hi, I’m Christian, a 43-year-old father of two and a lifelong DIY enthusiast. My workshop is where I spend countless hours experimenting, upgrading, and fine-tuning. Sharing my experiences and practical advice is my way of helping others create homes they love.