
Table of Contents
That old dresser sitting in your garage isn’t trash; it’s your next weekend project.
You can turn old furniture into beautiful statement pieces with just a paintbrush and a few basic supplies.
The good news is that you don’t need any special skills or expensive tools to get started.
What You’ll Need to Get Started
Before you grab that paintbrush, gather these basic items from your local hardware store:
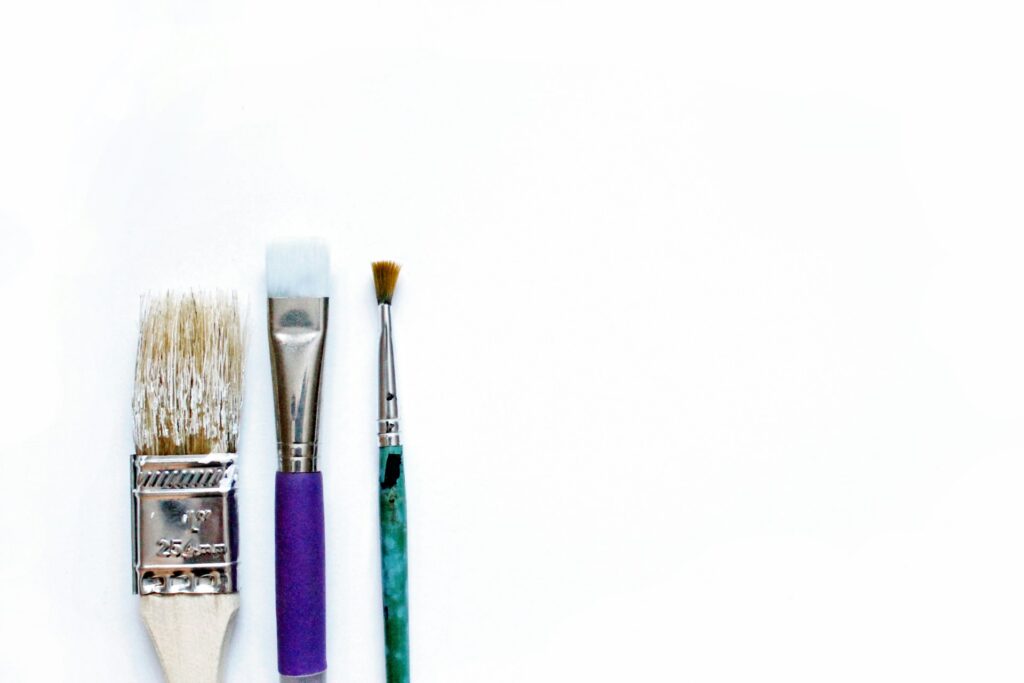
1. Quality paintbrushes in different sizes: Get at least one 2-inch brush for larger areas and a 1-inch brush for details. The cheap ones shed bristles everywhere, so spend a little extra here.
2. Paint and primers: Choose water-based paint for easy cleanup. Get a primer that matches your paint type. Most furniture needs about one quart of paint, but grab an extra if you’re working on something large.
3. Sandpaper: Get medium-grit (120) and fine-grit (220) sandpaper. This helps the paint stick better and gives you a smooth finish.
4. Drop cloths: Old newspapers work fine, but canvas drop cloths stay in place better and can be reused.
Prep Work for Professional Results

Many people skip this step and regret it later. Take time to prep your piece properly.
Step 1: Clean Properly
Clean thoroughly with warm, soapy water. Years of dirt and grime will stop paint from sticking properly. Let it dry completely.
Step 2: Sanding Process
Sand all surfaces lightly with medium-grit sandpaper. You’re not trying to remove all the old finish. Just rough it up so the primer sticks better then wipe away all dust with a tack cloth.
Step 3: Fix Imperfections
Fill any holes or scratches with wood filler. Sand smooth when dry. This extra step makes old furniture look new again.
Step 4: Apply Primer
Think you can skip the primer? That’s asking for trouble. Primer stops stains from bleeding through and helps paint stick better.
Apply one thin coat and let it dry completely. Sand very lightly with fine-grit paper, then wipe clean.
Transform Your Furniture in 8 Simple Steps
Your furniture makeover starts right here with these simple steps that anyone can master.
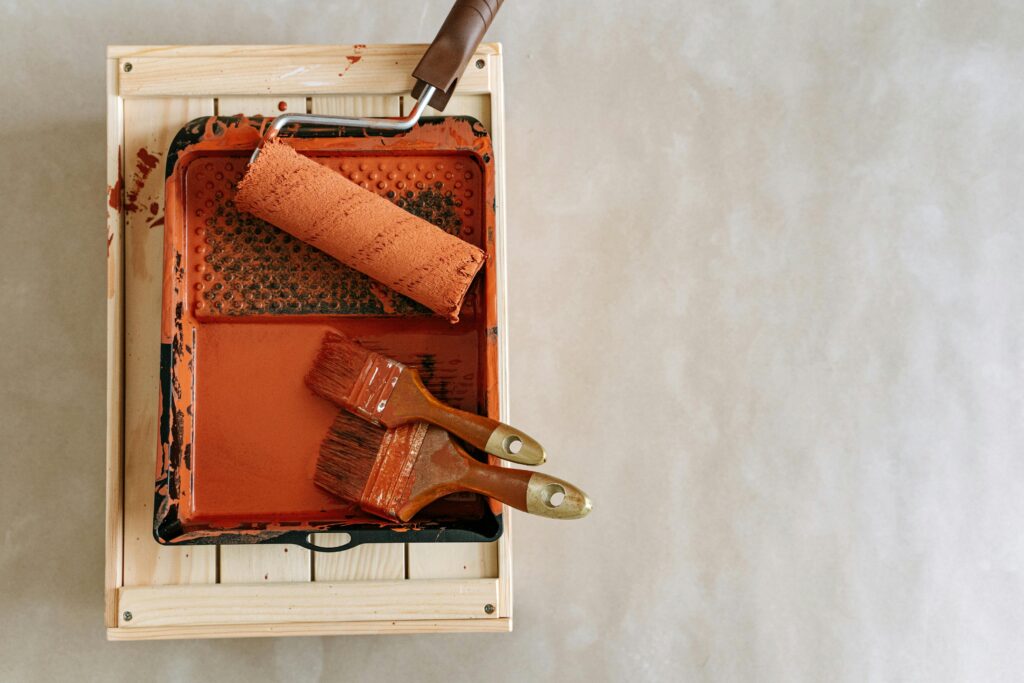
Step 1: Prepare Your Paint
Pick your paint color and pour a small amount into a paint tray. Water-based paint works great for most furniture. Dip your brush about halfway into the paint, then tap off the excess. You want your brush damp, not dripping.
Step 2: Apply First Coat
Paint your first coat in long, even strokes. Go in one direction and try not to go over areas that are starting to dry.
Work in small sections so you can see what you’ve already painted. The first coat usually looks a bit streaky, and that’s okay.
Step 3: Let It Dry
Let this coat dry completely. Most paint needs about two hours, but check the can for exact times. Your furniture should feel completely dry to the touch before you start the second coat.
Step 4: Add Second Coat
For your second coat, paint in the opposite direction from your first coat. This helps cover any spots you missed and gives you better coverage. Most pieces need two to three coats for solid coverage.
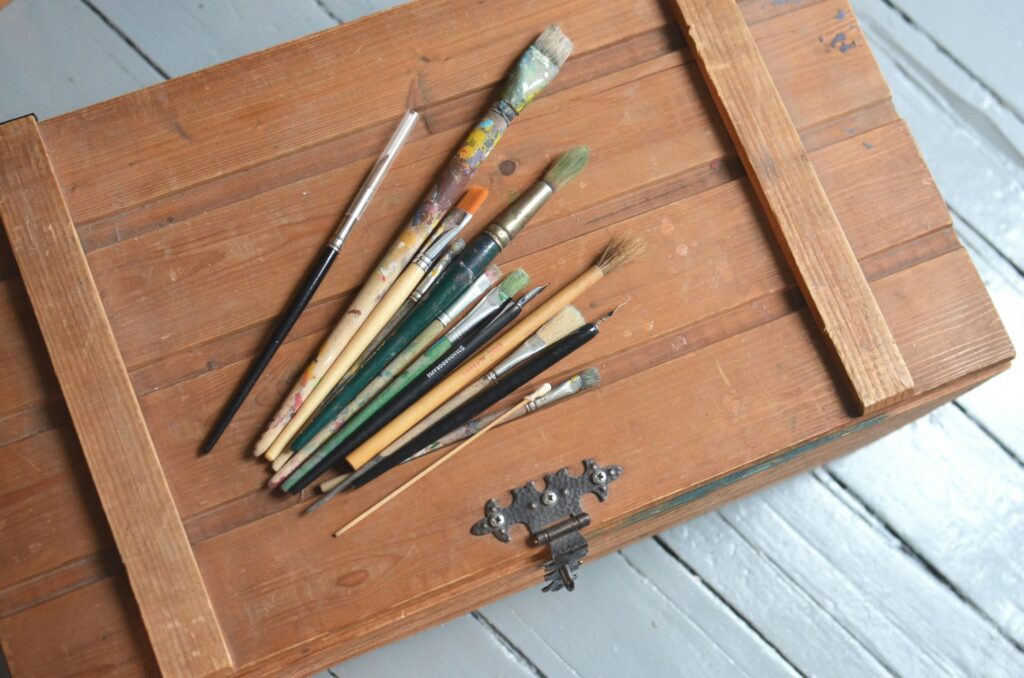
Step 5: Handle the Details
For detailed areas like trim or carved parts, use just the tip of your brush. Take your time here. These details make your piece look professional.
Step 6: Add a Personal Touch
Want to add some style? Once your final coat is dry, use your brush to add simple patterns or designs. You can even use a pencil to sketch them first.
Step 7: Protect Your Work
Don’t skip this crucial step. Apply a water-based polyurethane sealer in thin, even strokes. Let it dry completely, then add a second coat for extra protection.
This sealer makes your piece more durable and easier to clean.
Step 8: Let It Cure
Place your piece in a well-ventilated area for several days. While the surface may feel dry, both paint and sealer need time to harden completely. Avoid heavy use during this curing period.
Fixing Common Problems
Even experienced painters run into these issues, but they’re easy to solve when you know how.
1. Visible Brush Marks
Sand lightly between coats with fine-grit paper. This smooths out any ridges or bubbles. Making sure your paint isn’t too thick also helps prevent brush marks in future coats.
2. Paint Drips
Catch them quickly with your brush while they’re wet. If they dry, sand them smooth and touch up with paint. Remember that drips usually happen when you’ve loaded too much paint on your brush.
3. Uneven Color
You probably need another coat. Dark colors often need three or more coats for even coverage. Wait until each coat is completely dry before deciding if you need another layer.
4. Sticky Surface
If your paint feels tacky after drying time, your coats may be too thick. Sand the sticky areas lightly and apply a very thin coat. Good ventilation helps prevent this issue.
5. Peeling Paint
This usually means the surface wasn’t clean or sanded properly. Sand the peeling areas back to solid paint, clean thoroughly, and reapply paint in thin coats.
Special Effects Anyone Can Do
Want to add extra style? Try these simple techniques:
1. Distressing: After your paint dries, sand edges and corners lightly. This creates a worn, vintage look that hides future scratches.
2. Color washing: Water down your paint slightly and brush it on, then wipe most off with a clean cloth. This creates depth and texture.
3. Stenciling: Use adhesive stencils for adding patterns. Press edges down firmly to prevent paint bleeding underneath.
Making Your Work Last
Your newly painted piece needs proper care to stay fresh and beautiful for years to come.
Tip 1: Clean with mild soap and water only. Harsh cleaners can damage the finish and dull your paint job.
Tip 2: Touch up chips quickly to prevent moisture damage. Keep leftover paint labeled with the piece and color for easy matching.
Tip 3: Use felt pads under items placed on painted surfaces. This simple step stops scratches before they start.
Tip 4: Avoid dragging items across painted surfaces. For the first few weeks, be extra gentle as the paint fully cures.
Tip 5: Wipe up any spills immediately. Water left standing on painted surfaces can seep under the paint and cause bubbling.
Ready for Your Next Project?
Transforming old furniture with paint isn’t hard, but it does take patience. Follow these steps, take your time, and you’ll create pieces that look professional and last for years. Remember: proper prep work and thin coats of paint are your best friends in this project.

Hi, I’m Christian, a 43-year-old father of two and a lifelong DIY enthusiast. My workshop is where I spend countless hours experimenting, upgrading, and fine-tuning. Sharing my experiences and practical advice is my way of helping others create homes they love.