
Table of Contents
Your energy bill just hit a new high, and winter hasn’t even peaked yet. Sound familiar?
The good news is you don’t need to spend a fortune to keep your home warm and your bills manageable this winter.
Here is how to winter-proof your home without breaking the bank
1. Seal Drafts Around Your Home
Cold air sneaks in through the tiniest gaps around your home. Think of it as money literally floating out your windows and doors.
The fix? Weather stripping and door sweeps are your best friends here. You can grab these at any hardware store for under $20.
A quick way to spot drafts: Hold a lit candle near windows and doors on a windy day. If the flame dances, you’ve found a leak.
For a fast fix, roll up a towel and place it at the bottom of drafty doors. But for a longer-lasting solution, stick on some adhesive weather stripping around door frames and windows.
It takes about 10 minutes per door or window, and the difference is immediate.
2. Insulate Your Home on a Budget
Most people think insulation means tearing down walls and spending thousands. Not true. Focus on the easy wins first. Your attic door is probably leaking heat like crazy. An insulated attic door cover costs about $30 and installs in minutes.
Your water heater loses heat constantly too. A water heater blanket costs around $25 and can save you up to 10% on water heating costs.
Just wrap it around like a jacket, secure it with tape, and you’re done. Same goes for exposed pipes. Foam pipe insulation is cheap and easy to install yourself.
3. Keep Cold Air Out
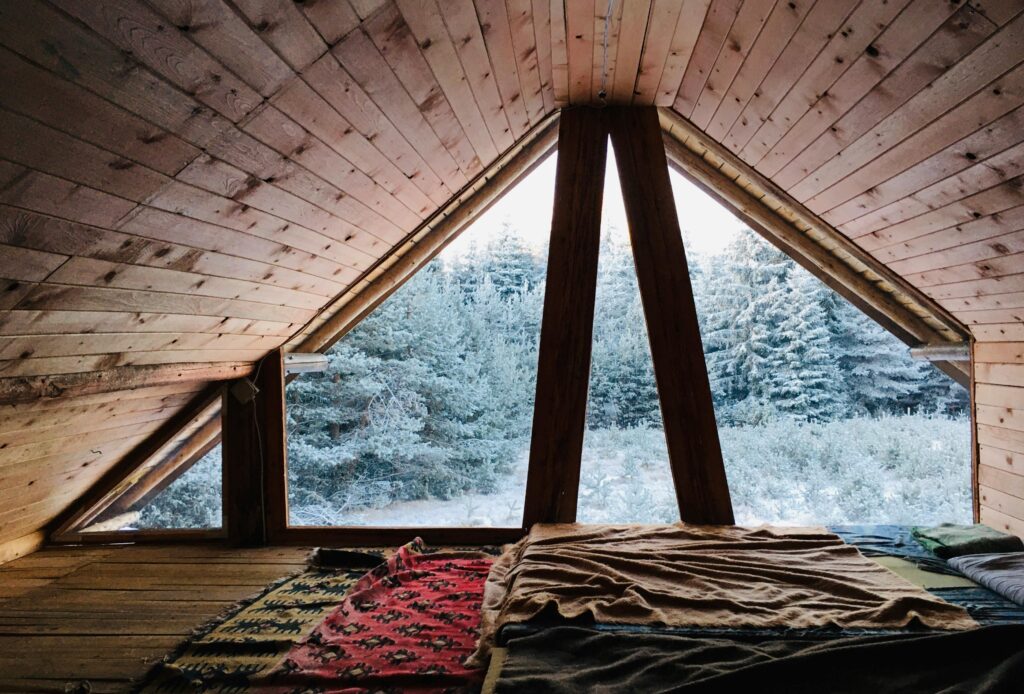
Single-pane windows are terrible for keeping heat in, but replacing them costs thousands.
Here’s what you can do instead: Clear plastic window insulation kits cost about $15 for several windows. They look like clear shrink wrap for your windows, and while they’re not pretty, they work surprisingly well.
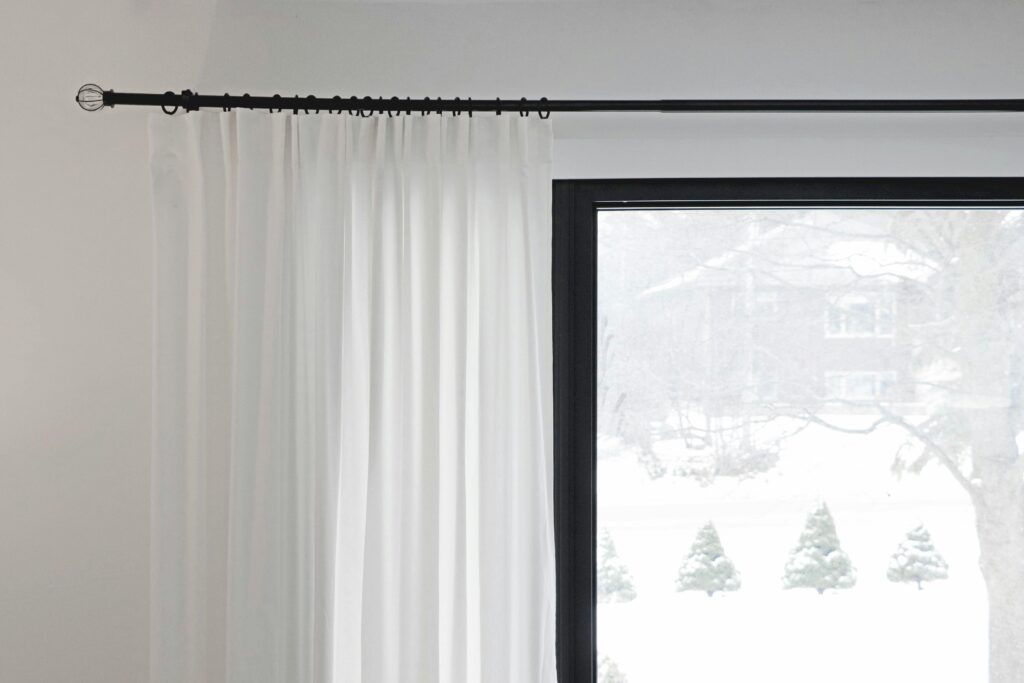
Use a hairdryer to shrink the plastic, and it becomes nearly invisible. Heavy curtains are another easy fix. Close them at night to keep warmth in, and open them during sunny days to let natural heat in.
Bonus tip: Put foil behind your radiators (shiny side facing in) to reflect heat back into the room instead of letting it escape through the wall.
4. Heat Your Home on a Budget

Your thermostat setting makes a huge difference. Every degree lower can save about 3% on your heating bill. Instead of cranking up the heat, try these free fixes:
Keep interior doors open during the day to let warm air circulate. Close off unused rooms and their vents to avoid heating empty spaces. Run ceiling fans clockwise in winter to push warm air down from the ceiling.
Clean your heating vents and replace filters regularly. A dirty filter makes your system work harder and costs you more money.
5. Add Extra Warmth to the Room

Small investments can make a big difference. An extra layer of rugs on bare floors helps trap warmth and feels cozy under your feet. Plus, you can find decent rugs at thrift stores or wait for sales.
Humidifiers aren’t just for sick days. Moist air feels warmer than dry air at the same temperature. A small humidifier in frequently used rooms lets you feel comfortable at lower temperatures. Plus, it helps with dry winter skin and static electricity.
6. Prepare Your Home for Each Season

Change your ceiling fan direction to clockwise for winter. This simple switch pushes warm air down from the ceiling where it collects.
Clean your gutters before the first freeze. Blocked gutters can form ice dams, which can damage your roof and cost thousands to fix.
Check your furnace now, not when it breaks down on the coldest day of the year. Replace the filter, vacuum around the unit, and make sure nothing is blocking your vents. A clean system runs more efficiently and costs less to operate.
7. Getting Started With Your Winter Checklist

Before winter arrives in full force, here’s a practical checklist to help you tackle your home winterization one step at a time.
Weekend 1: Seal and Protect
Focus on sealing obvious drafts around windows and doors, install door sweeps on exterior doors, and apply weather stripping where needed.
Weekend 2: Insulate and Cover
Cover windows with insulation kits or heavy curtains, add attic door covers, and wrap water heaters with insulation blankets.
Weekend 3: Check and Clean
Service your heating system, clean vents, replace filters, and ensure gutters are clear of debris.
Weekend 4: Add Comfort Layers
Lay down additional rugs on bare floors, set up humidifiers in main rooms, and adjust ceiling fan directions for optimal heat circulation.
Weekend 5: Final Touches
Install foam pipe insulation, place draft stoppers under doors, and set up your programmable thermostat schedule for winter.
These improvements will keep working for you through many winters, making your initial time investment well worth the effort and savings.
Common Problem Areas to Check
Some of the biggest heat thieves in your home hide in plain sight, often in places you’d least expect. Here are the places to check:
1. Outlets and Switch Plates
Many people forget about electrical outlets on exterior walls, but they can leak surprising amounts of heat.
Adding foam gaskets behind outlet covers and switch plates costs just a few dollars per outlet and makes a noticeable difference.
The job takes about 5 minutes per outlet: just unscrew the cover plate, pop in the foam gasket, and replace the cover.
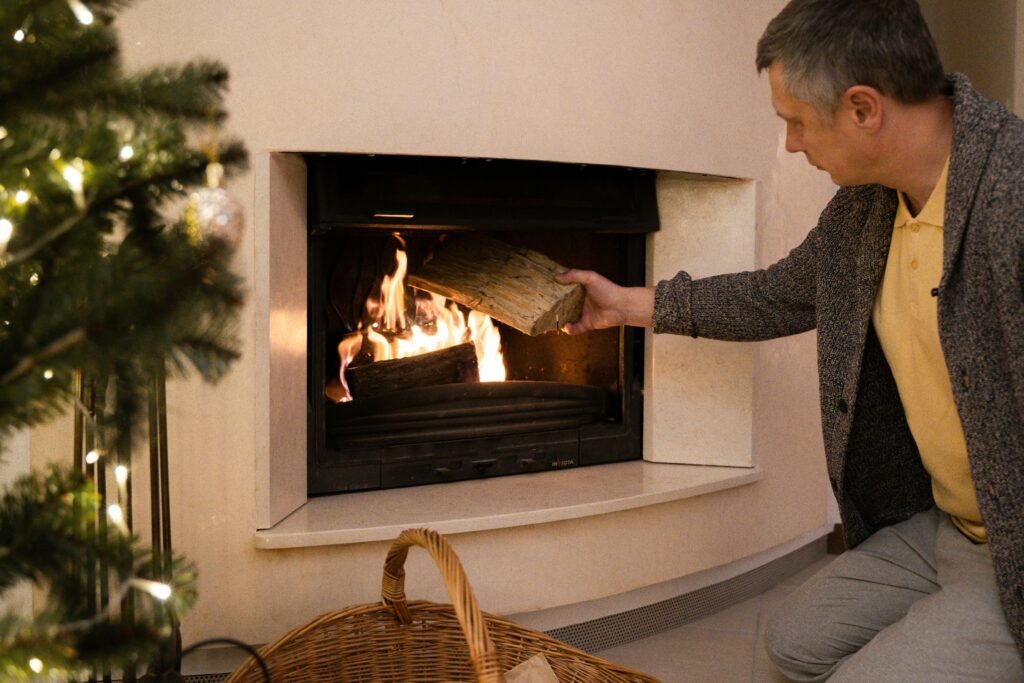
2. The Fireplace
Your fireplace might be costing you more than you think. A poorly sealed damper or chimney can suck heat right out of your home even when you’re not using it.
For a quick fix, get a chimney balloon (around $50) that inflates to seal the chimney when not in use.
3. Under-Cabinet Air Gaps
Look under your kitchen and bathroom cabinets, especially where pipes enter from outside. These gaps often go unnoticed but can let in significant drafts.
Use expanding foam to seal around pipes and fill larger gaps. A can costs about $5, and one application usually lasts for years.
Setting Up for Winter
The best part about these fixes is that most of them are one-and-done solutions. Once you’ve sealed those drafts and insulated your attic door, you’re set for years to come. Start with the easiest fixes first, see how much they help, then decide if you need to do more. Your wallet (and your warm, cozy self) will thank you all winter long.

Hi, I’m Christian, a 43-year-old father of two and a lifelong DIY enthusiast. My workshop is where I spend countless hours experimenting, upgrading, and fine-tuning. Sharing my experiences and practical advice is my way of helping others create homes they love.