
Table of Contents
Spring is around the corner, and your yard is begging for some TLC after the long winter months. Those brown patches and fallen branches won’t fix themselves.
The good news? You don’t need to be a pro landscaper or spend tons of money. Here is the ultimate guide to outdoor makeover: 6 simple ways to prepare your yard for spring.
1. Clean Up Winter’s Mess
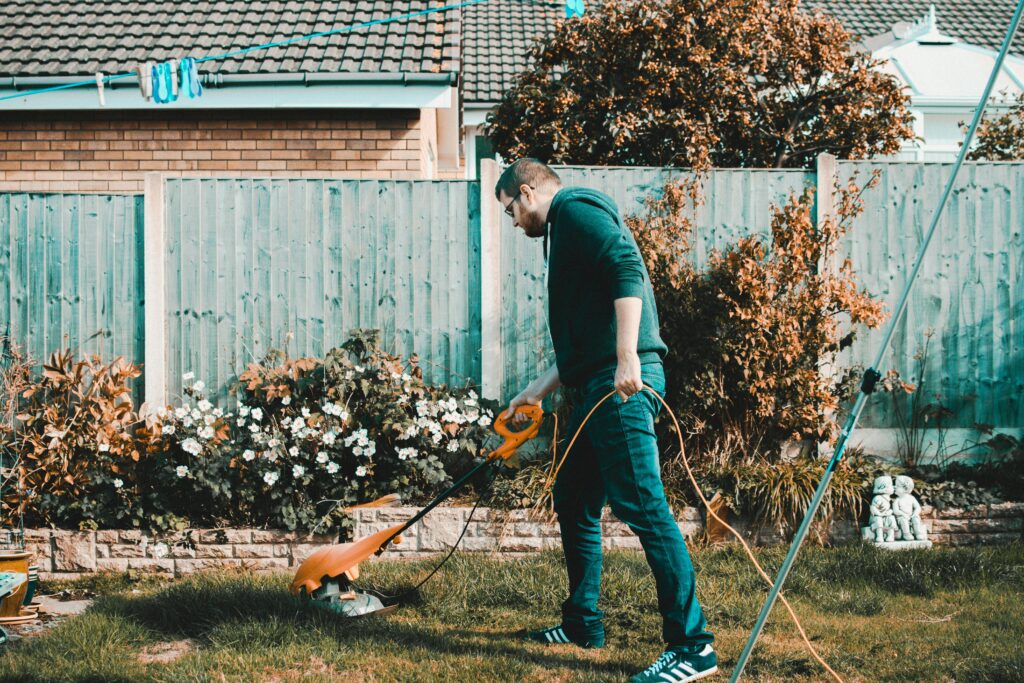
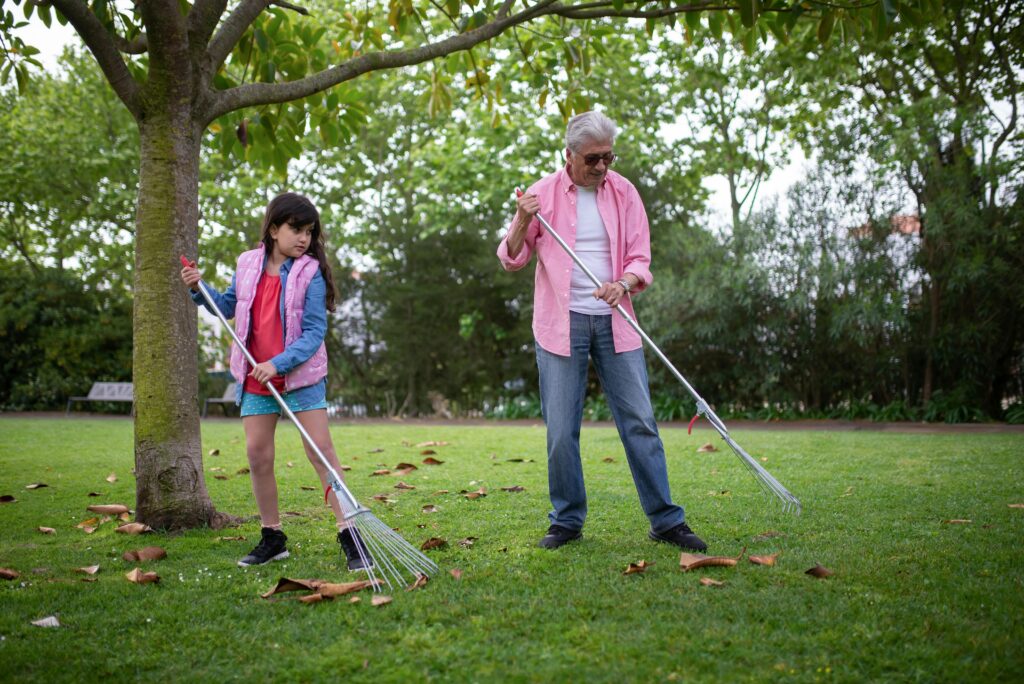
Winter leaves a mess behind. Dead leaves, broken branches, and other debris make your yard look sad and neglected.
Start by getting rid of all those dead leaves hiding in corners and under bushes. They can suffocate your grass and create perfect spots for pests to move in.
Don’t forget to check your gutters too. Clogged gutters from fall and winter can lead to water damage when spring showers hit.
Next, walk around and pick up any fallen branches or twigs. A clean slate makes everything else you do more effective. Plus, nothing ruins a lawnmower faster than running over a hidden branch.
For garden beds, pull out any dead plants from last season. They’re not coming back, and they’re taking up space your new plants will need.
While you’re at it, pull any early weeds you spot. Getting them before they set roots saves you a huge headache later.
2. Show Your Lawn Some Love
Your lawn has been hiding under snow or dealing with winter cold for months. Now it needs your help to bounce back strong.
First, look for any bare patches that need attention. Spring is the perfect time to reseed these areas before the summer heat makes it harder for new grass to take root.
Just loosen the soil a bit with a rake, sprinkle grass seed, cover lightly with soil, and water gently but often until you see growth.
Raking isn’t just for leaves. A good, deep rake of your lawn (called dethatching) removes the layer of dead grass and debris that builds up between your grass and soil.
This lets water, air, and nutrients reach the roots better. Your lawn will grow greener and thicker.
3. Edge and Define Your Beds
Nothing makes a yard look more polished than clean, sharp edges between your lawn and garden beds. It makes even simple gardens look like they were designed by a pro.
Use a spade or edging tool to cut a clean line between your grass and garden beds. Aim for about 2-3 inches deep.
This creates a barrier that stops grass from creeping into your beds. It also makes mowing easier since you won’t have to worry about cutting into your mulch or plants.
For a more permanent solution, consider installing physical edging. Plastic, metal, stone, or brick edging keeps that clean line looking good all season with little maintenance.
Each has its own look and price point, so choose based on style and budget.
4. Add Fresh Mulch
Fresh mulch is like a new coat of paint for your garden beds. It instantly makes everything look cleaner and more put together while serving several practical purposes.
A good 2-3 inch layer of mulch helps your soil retain moisture (meaning less watering for you), prevents weeds, and regulates soil temperature.
As a bonus, as organic mulches break down, they add nutrients to your soil, improving it over time.
Choose a mulch that works with your landscape style. For a natural look, go with shredded bark or pine straw. For something more manicured, try a colored mulch that complements your home’s exterior.
Just stay away from rubber mulch in plant beds. It looks unnatural and doesn’t break down to feed your soil.
5. Prune and Shape for Growth
Spring is prime time for pruning many plants, helping them grow fuller and produce more flowers. But timing and technique matter.
For spring-flowering shrubs like lilacs and forsythia, wait until they bloom, then prune. For summer-flowering shrubs, early spring is perfect since they’ll bloom on new growth. Always remove dead or damaged branches first, then shape as needed.
When pruning, make clean cuts at a 45-degree angle just above a bud or branch junction. This helps the plant heal faster and directs new growth. For most shrubs, remove no more than one-third of the plant at once to avoid stressing it.
Don’t forget your perennials. Cut back any dead growth from last year to make way for new shoots. This is also a good time to divide overcrowded perennials like hostas and daylilies, giving you free plants to fill other spots in your garden.
Roses Need Special Care
For roses, wait until the buds start to swell before pruning. Remove any dead or diseased canes, then cut back the remaining canes by about one-third.
Always cut just above an outward-facing bud to encourage the plant to grow outward rather than in on itself.
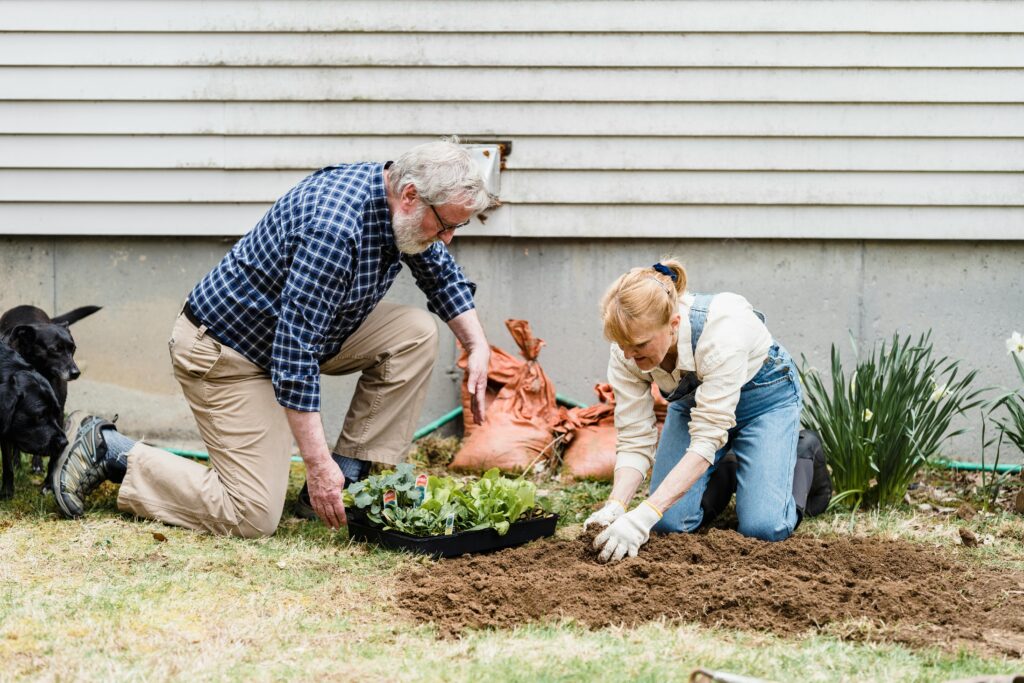
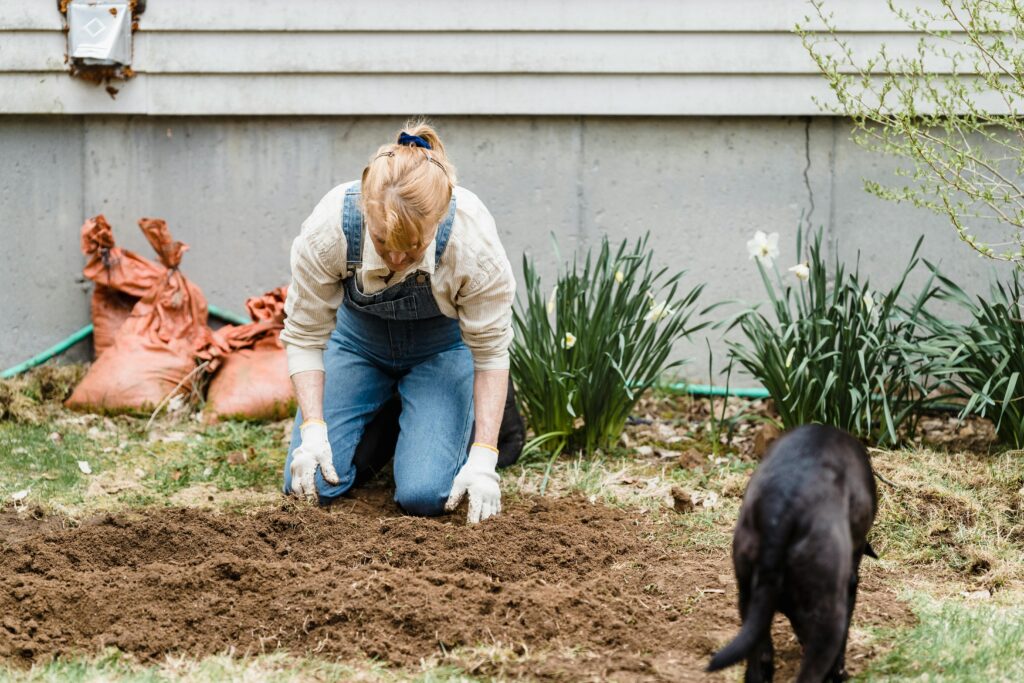
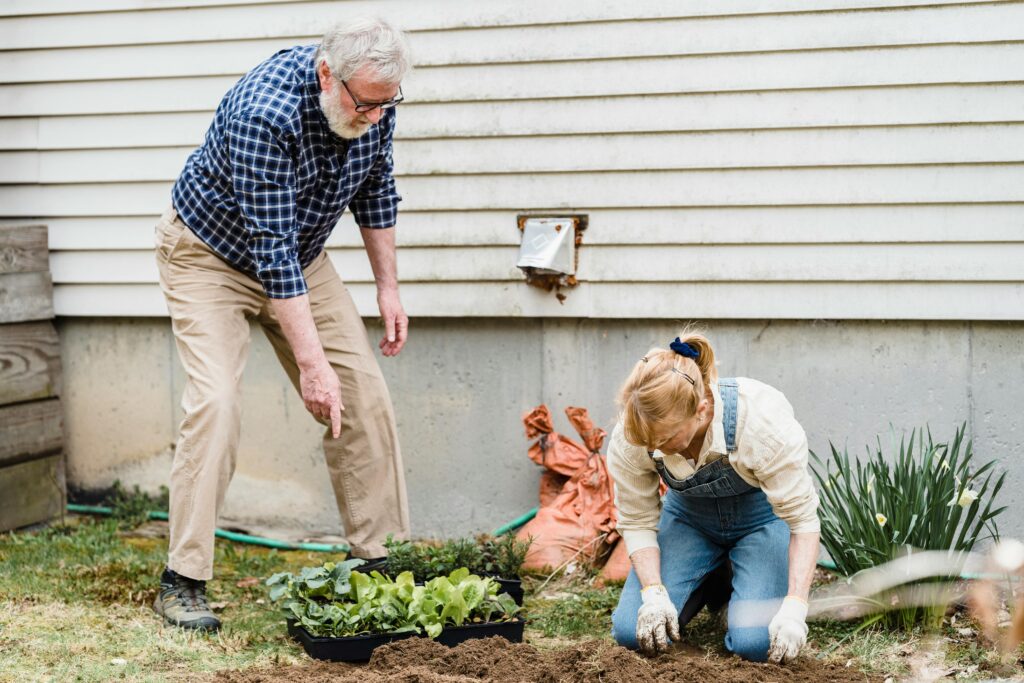
6. Add Pops of Color

After all the prep work, reward yourself by adding some instant color to your yard. This final touch brings everything to life and gives you the satisfaction of seeing immediate results.
Plant containers are perfect for adding color exactly where you want it. Place them near entryways, on patios, or in any drab corner that needs brightening.
For spring, you can’t go wrong with pansies, tulips, daffodils, and hyacinths. They’re tough enough to handle cooler spring temperatures while providing bright, cheerful colors.
Don’t have a green thumb? No problem. Just buy pre-planted containers from your local garden center and place them strategically around your yard. Nobody has to know you didn’t plant them yourself.
For longer-lasting color throughout the growing season, consider adding a few new perennials to your garden beds. Plants like coreopsis, salvia, and black-eyed Susans will come back year after year, getting bigger and providing more color as they mature.
Quick Color Tip
Group your plants in odd numbers (3, 5, 7) rather than even numbers. This looks more natural and eye-catching than perfectly symmetrical plantings. Also, try to group plants with similar water and sun needs together to make maintenance easier.
Your Perfect Outdoor Makeover
With these six simple steps, your yard will be the envy of the neighborhood and ready for all the outdoor fun spring and summer bring.
Remember that yard work doesn’t have to be done all at once. Tackle one section at a time if that works better for your schedule. Even small improvements make a big difference in how your outdoor space looks and feels.

Hi, I’m Christian, a 43-year-old father of two and a lifelong DIY enthusiast. My workshop is where I spend countless hours experimenting, upgrading, and fine-tuning. Sharing my experiences and practical advice is my way of helping others create homes they love.