Table of Contents
Hardwood floors add warmth and character to any home, but over time, they can lose their shine, get scratched, or just look tired. The good news is, you don’t always need a full sanding and refinishing job to bring them back to life. There are quicker, less messy ways to revive your floors and get them looking fresh again, sometimes in just a day.
Discover the quickest way to revive your hardwood floors with easy care tips, affordable fixes, and smart tricks for lasting shine and beauty.
Clean and Prep: The First Step to a Fresh Floor
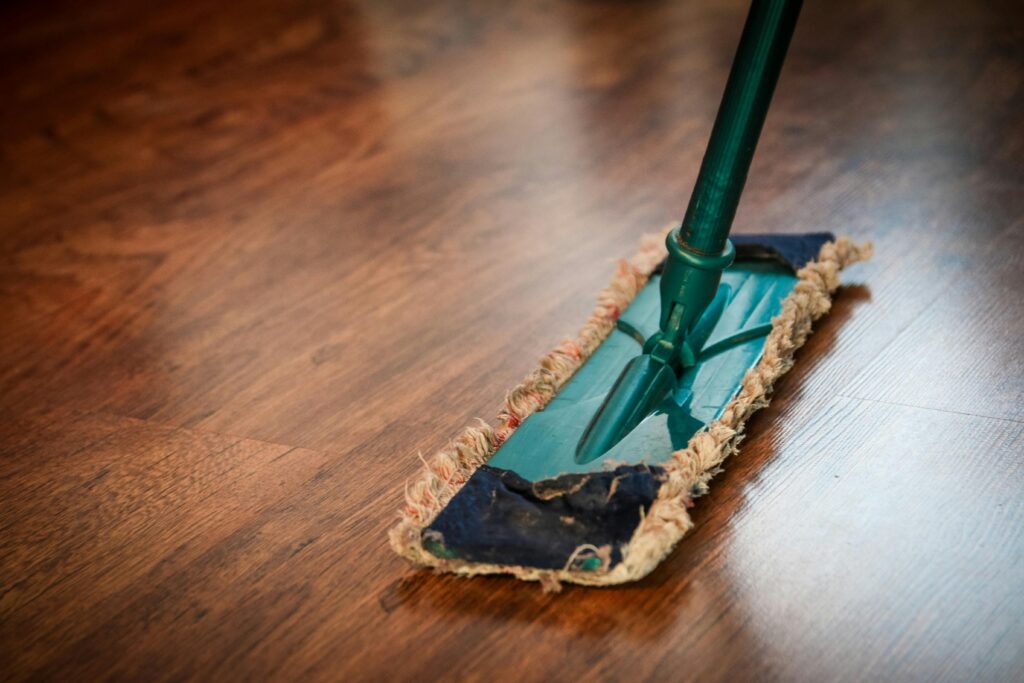
Before jumping into any refinishing, start with a thorough cleaning. Dirt, dust, and grime can dull the finish and hide the wood’s natural beauty. Use a hardwood floor cleaner or a simple mix of 10 parts water to 1 part white vinegar for a natural solution. Mop gently with a terry-cloth mop or a microfiber towel wrapped around a mop head.
Remove all furniture and rugs to give yourself a clear workspace. Close windows and doors to keep dust contained when you start buffing or sanding. This prep step is crucial because any leftover dirt can scratch the floor during refinishing.
Buff and Recoat: A Faster Alternative to Sanding
If your hardwood floors aren’t badly damaged, just showing surface scratches and wear, a full sanding isn’t always necessary. Instead, try a “buff and coat” method. This approach uses a floor buffer with a maroon scuff pad to rough up the existing finish just enough to help a new coat of polyurethane stick.
- Rent a buffer from a local home center. If you’ve never used one, practice in the corner of the room first to get comfortable.
- Attach the scuff pad and wear a dust mask.
- Move the buffer side to side with the wood grain, overlapping each pass by about 6 inches.
- The old finish will turn to powder as you go, so vacuum the pad regularly to keep it clean.
- After buffing, vacuum the floor thoroughly and dry, then tack with a microfiber cloth to remove any remaining dust.
Once the floor is prepped, apply a water-based polyurethane finish with a long-handled roller. Pour out a small stripe of finish and roll it out with the grain, then across it, overlapping each pass to avoid streaks. Work quickly to keep a wet edge. After about three hours, apply a second coat. Wait a full week before moving furniture back to allow the finish to cure properly.
This method can be done in a day and costs significantly less than a full sanding and refinishing job. It’s perfect for floors that just need a fresh coat and minor surface fixes.
When to Consider Full Sanding and Refinishing
If your floors have deep scratches, dents, or worn spots where the finish is gone, a full sanding might be necessary. This process removes the old finish and levels the surface, preparing it for a new stain and protective coat.
Here’s a quick overview of the sanding process:
- Use a drum sander for large areas and an edge sander for corners and edges.
- Start with coarse grit sandpaper (36-40 grit) to strip the old finish and smooth out damage.
- Progress to medium grit (60 grit) and finish with fine grit (100 grit) to create a smooth surface.
- Vacuum thoroughly between sanding steps to remove dust.
After sanding, apply stain if desired, then seal with at least three coats of oil-based or four coats of water-based polyurethane. Each coat should be applied evenly, allowed to dry, and lightly sanded before the next coat.
This process takes several days but results in floors that look brand new and last for years.
Quick Fixes for Minor Damage
If your floors have small scratches or dull spots but aren’t ready for a full refinish, there are quick fixes you can try:
- Scratch repair kits: These come with colored wax sticks or markers that fill in scratches to blend with your floor’s color.
- Polishing: Use a hardwood floor polish or restorer to add shine and fill in minor imperfections. This is a temporary fix, but it can extend the life of your finish.
- Spot cleaning and touch-up: Clean the affected area and apply a small amount of finish or stain with a brush to blend worn spots.
These options are cheap and fast, but won’t replace the durability of a full refinish.
Tips to Maintain Your Hardwood Floors After Reviving Them
- Use furniture pads to prevent scratches.
- Clean regularly with a hardwood-specific cleaner.
- Avoid wet mopping or harsh chemicals that damage the finish.
- Place rugs in high-traffic areas to protect the wood.
What You’ll Need for a Quick Floor Revival
- Hardwood floor cleaner or a vinegar-water mix
- Floor buffer with maroon scuff pad (rental)
- Vacuum with a felt attachment
- Microfiber cloths
- Water-based polyurethane finish
- Long-handled roller and brush for edges
- Dust mask and gloves
Fresh Floors, No Hassle
Reviving your hardwood floors doesn’t have to mean a full sanding and refinishing project that takes days or costs a fortune. For floors with surface wear, the buff and coat method is a quick, effective way to restore shine and protect your investment. If your floors need more serious work, sanding and refinishing is the way to go, but even then, knowing the right steps can save you time and money. With the right prep, tools, and finish, your hardwood floors can look refreshed and beautiful in no time.

Hi, I’m Christian, a 43-year-old father of two and a lifelong DIY enthusiast. My workshop is where I spend countless hours experimenting, upgrading, and fine-tuning. Sharing my experiences and practical advice is my way of helping others create homes they love.